Upgraded XY plotter - 6W laser


#1

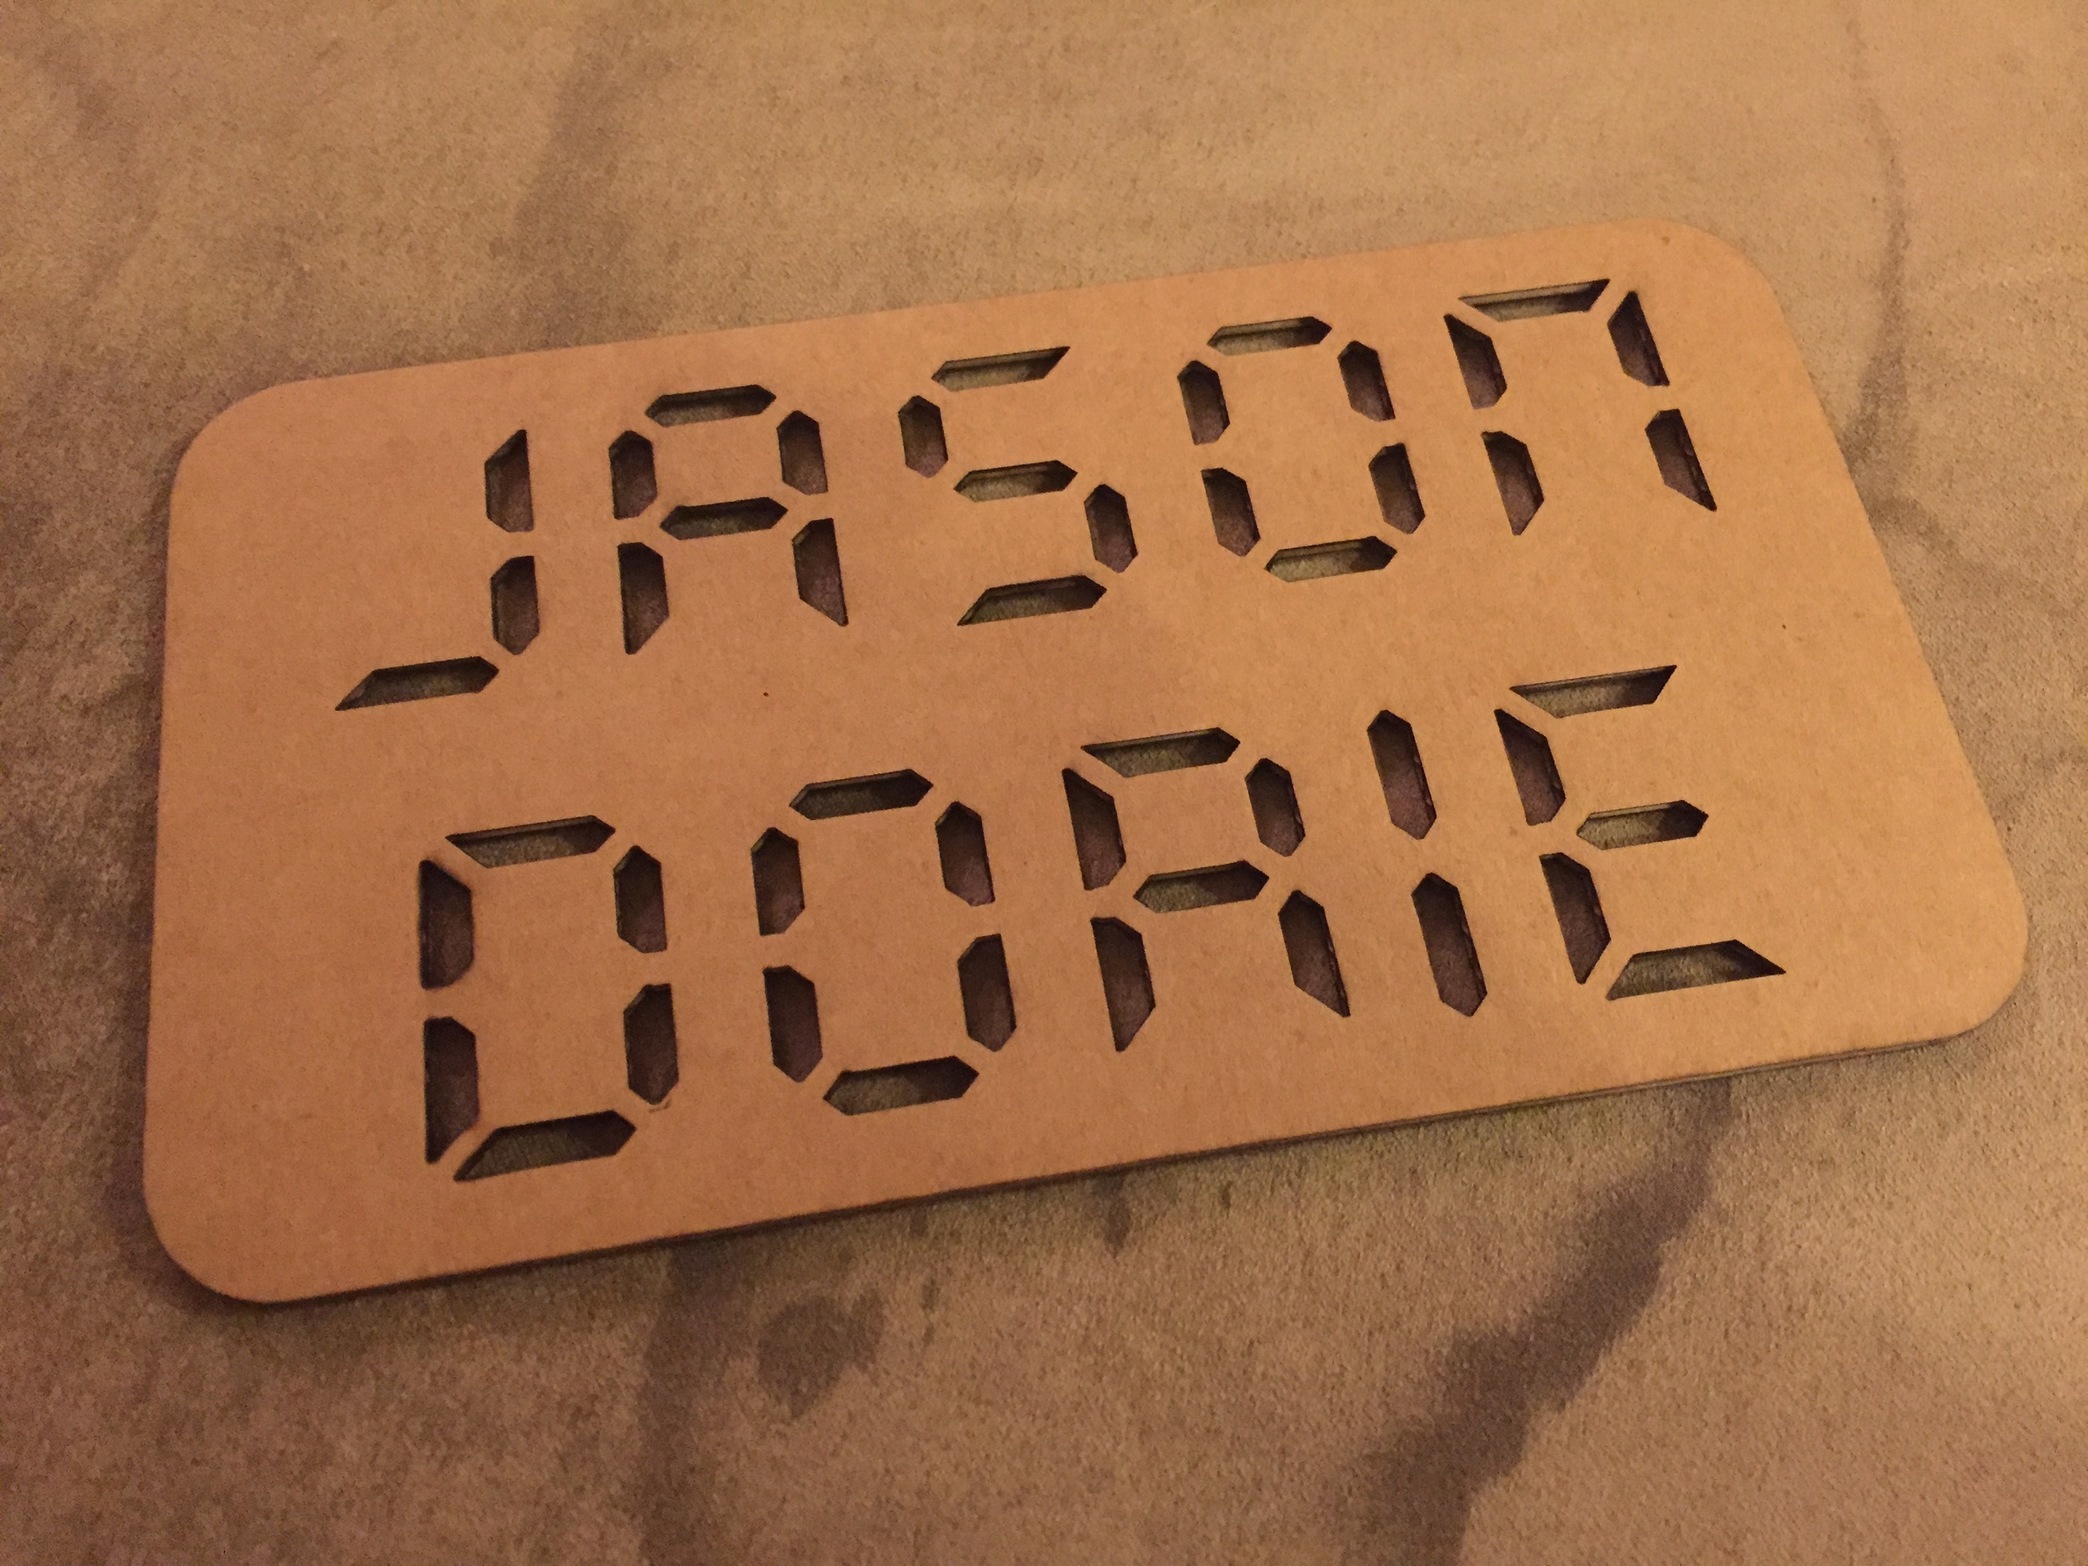
I recently got the XY plotter and laser kit. 500mw wasn’t strong enough, so I found a 6W laser diode and figured out how to control the external current driver with the PWM output from the Orion board. It works well!

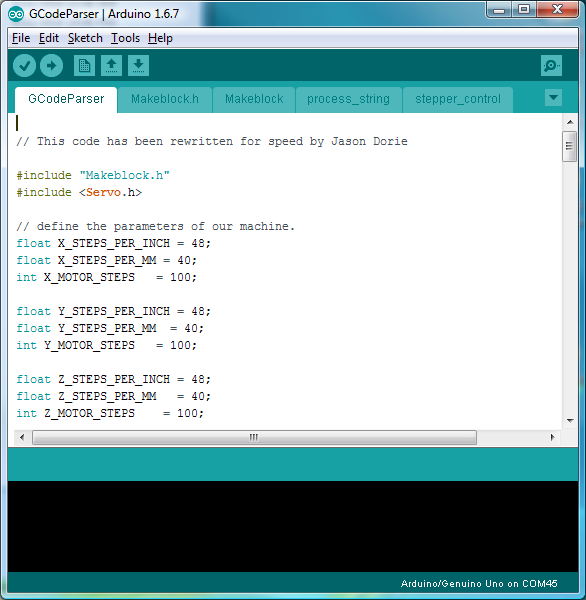
I also modified the GCode parser to run more accurately, and changed the arc code to produce a step-accurate arc instead of line segments (makes arcs run much smoother).

Here’s a short video of it working:

…and a pic of the result:

If anyone else is interested in doing this, I can write up how I did it.

Jason

EDIT: I have attached an updated version of the GCode Parser below.

This version of the GCode Parser no longer supports the servo / pen, and instead uses Z values of 0 to -1.5mm to represent “off” to “full” laser power. It does as much computation using integer math as possible, bypasses the slow digitalWrite and digitalRead functions, does step-accurate arcs, and uses acceleration / deceleration in rapid moves to gain speed.

I make no guarantees, but it does seem to work quite well for me. Beware that I currently do NOT check limit switches during arc moves, but normal linear moves do.

GCodeParser-Faster.zip (32.0 KB) - (Updated Friday, Mar 11, bugfix for long moves)


Drive laser in GCode without Benbox
Carrige speed control
Laserbot - mLaser software issues
Better Question: Why can't I make a SQUARE!
#2

I am definitely interested in reading your write up as I will be adding a laser to my bot soon. I have been redesigning the X/Y axis carriages to maximize the work area. I am on the last few parts before my upgrade “kit” will be available. I will be posting the files on Thingiverse.com and posting a how-to here as well.


#3

It looks very good! :+1:
I definitely want to see more detail :wink:


#4

What was the total cost of this upgrade?


#5

So I started with this:

Specifically the one with the G2 lens, so that’s $210. I bought a new heatsink and put some thermal paste around the outside of the laser module to make sure I got good heat transfer, then put the existing fan just above it. Look for 12mm laser heatsink on EBay and tons of options come up.

I mounted a second small fan behind the laser, pointing down toward the work surface at a 45 degree angle, to blow smoke away from the laser itself. When cutting / engraving, smoke gets into the path of the beam and reduces the power hitting the work surface, so this is a simple way to maximize power.

Controlling the laser was interesting. The Orion board is set up such that the AtMega’s PWM hardware isn’t available on any of the 5v output pins, so I had to use the motor output like the original laser module to drive the new one so I could vary the output power. I bought a 12V 7A power supply, connected that to both the laser and the Orion, and used the M1 output of the Orion to drive the enable pin of the laser driver.

The page link above has info on removing the ramp-up capacitor and tapping in to the enable pin on the laser driver. The seller will make those modifications for you if requested.

I inserted a diode and a 10k resistor in-line with the M1 output, just in case anyone ever tries to drive it backwards, and to drop the voltage a little. The enable pin of the driver will handle 12v, so it’s safe.

I’ll draw up a wiring diagram shortly, but it really is as simple as putting a diode and a resistor on the positive output line of M1, and passing that to the enable pad of the laser driver.

Total cost was $210 for the module, about $15 for the heatsink, and another $20 for the power supply, for a total of just under $250.

I still need to heatsink the driver itself - it has a thermal shut-off, and I’m starting to hit that when driving the laser at higher power. I got a couple small heatsink squares like they have on the stepper motor drivers, and I’m going to thermal-glue one onto the driver and put it near the fan.

I’ll take some pictures of the final setup when it’s done.


#6

I upgraded to a module that’s looks/acts like the upgrade and plugged it directly into the motor output. It’s 3.5W and does a good job of cutting 1/2 way thru corrugated cardboard and all the way thru card stock. It was bought from eBay for around $100.

I would like complete instructions on the 6W upgrade. Thanks and great work/upgrade!


#7

Fantastic!..Exactly what Ive been trying to do… Cant wait for detailed follow up. I just ordered 6w diode from DTR. I had requested additional laser related info on the Orion board from Makeblock, but was referred to there product page which was of no help. Thanks again, Ill be anxiously awaiting any more guidance.
Wayne K.


#8

Make sure you buy the driver along with the diode. I’m sure the board that comes with the 500mw laser upgrade for the Orion would drive it, but nowhere near full power.


#9

Please follow up with the software changes, as well.


#10

I’m still working on those, but it’s not quite robust enough to post.

I’ve been optimizing the existing GCode parser to allow it to run faster, and shudder less. In doing so, I’ve removed the ability to support the servo / pen, and replaced it with code that uses the Z-depth to drive the laser. I’m currently working on removing the use of floating point math as much as possible, since the AtMega takes a long time with those. I’ve made the stepping routines use direct port writes instead of digitalWrite(), as that function is extremely slow. Once I get all this done I want to add acceleration / deceleration for rapid moves, because the machine is now capable of MUCH higher stepping rates, but you can’t just hit those speeds instantly or the steppers will skip.

I set it up so that 1.5mm depth is full output, so if you have CNC software (like V-Carve, Cut2D, CamBam, etc) it’s very easy to set up laser files.

I saved a backup version with just the arc and laser changes. I’ll check to see if that’s stable, and if so, I could post that to get others going. The existing mDraw software will drive the new laser setup with no modifications - I’m just making the GCode parser work with the laser.


#11

I haven’t had a lot of time to work on this the past week, but I’ve made a bit of progress. I also took some decent pictures to show the setup.

Pictures (the album is public):
https://www.facebook.com/media/set/?set=a.10155001871173973.1073741828.671403972&type=1&l=fae0bca7e9

Video:


#12

I’ve added acceleration / deceleration for rapid moves and optimized the limit switech tests, stepping routines, gcode parsing, and feedrate delay calcs, so it’s capable of MUCH higher speeds:

Code is attached to the first post. You’ll need the Arduino environment installed to compile & upload to the Orion board.


#13

Speed comparison, old vs new:


#14

When I try to upload your new gcodeparser get an error saying “init_process_string” not declared in scope
Any ideas?


#15

I just tried it locally (unzipping the file and compiling from that) and had no issue. Make sure you get 4 .ino files and 1 .h file in a folder called GCodeParser. If you load “GCodeParser.ino” in the Arduino IDE and compile for “Arduino / Genuine UNO” it should just work.

My Arduino tabs look like this when I load the project - make sure you have all 5 of the files:

I do occasionally see that message if I try to compile twice in a row accidentally. Make sure you’re not double-clicking the compile button.


#16

Ok Great. worked fine as instructed after adding the serial and wire libraries… Now… can I use Benbox or Mdraw after uploading to the Orion… Ver sorry for the stupidity, and very grateful for help…
Wayne Keller


#17

You’re very welcome - let me know if it does anything weird. I’m a programmer by trade, but a total noob with Arduino & Atmel chips.


#18

disaster! Got it working, with a 1w diode. Decided to try a real quick test with the 6w. Lasted about a second. Put old 1 watt back… no go. Now to figure if I blew the Makeblock driver, or the Orion Uno. Damn! Too anxious… Should have at least used bigger power supply (maybe?).


#19

Did some testing. Blew the Makeblock laser driver board. Have output from Orion. Let that be a lesson! (not sure yet what the lesson is, other than think it out and take your time…


#20

Im thinking maybe I should bypass the Makeblock laser driver and try to use the driver that came with the 6w diode. Though Im concerned about the hookup, as the dtl site shows removal of resistor and soldering to a pad on the driver, which their pic is not quite clear about.
I tested the 6w, its still good thank God!