1. What is the mBlock 5?
The mBlock 5 is a software tool for STEAM education. It is inspired by Scratch 3.0 and supports graphical and text programming. With mBlock 5, children are able to create engaging stories, games and animations, and program hardware like Makeblock robots, Arduino and micro:bit. It supports Python programming as well. You can just switch to Python mode with one-click. Moreover, its AI and IoT features give children a chance to have fun with some cutting-edge technologies. Besides, mBlock 5 allows you to sync programs across the platforms on Web, mobile devices or PC.
2. Introduction
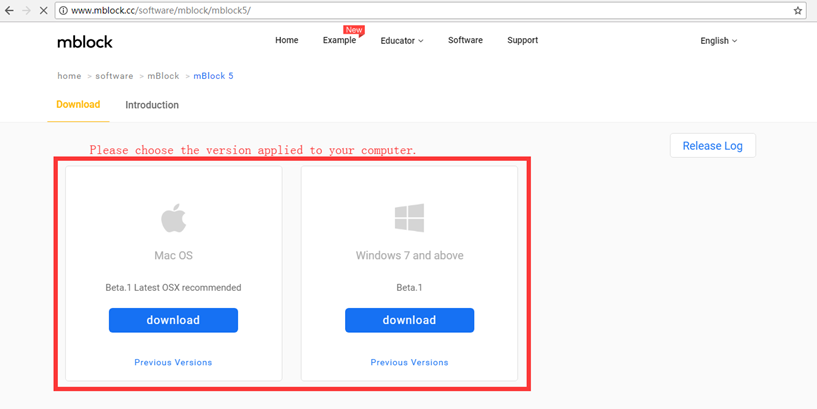
- Download and install mBlock 5
To download mBlock 5, please visit:
http://www.mblock.cc/software/mblock/mblock5/
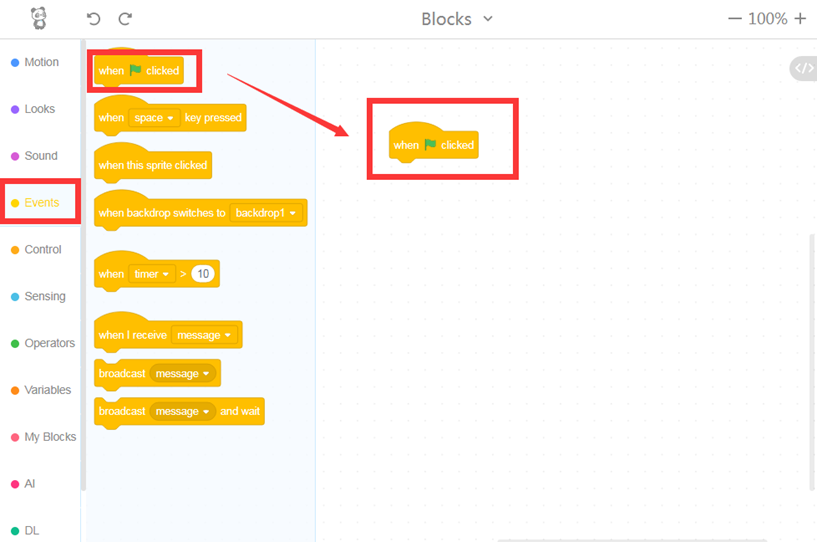
-About the Interface
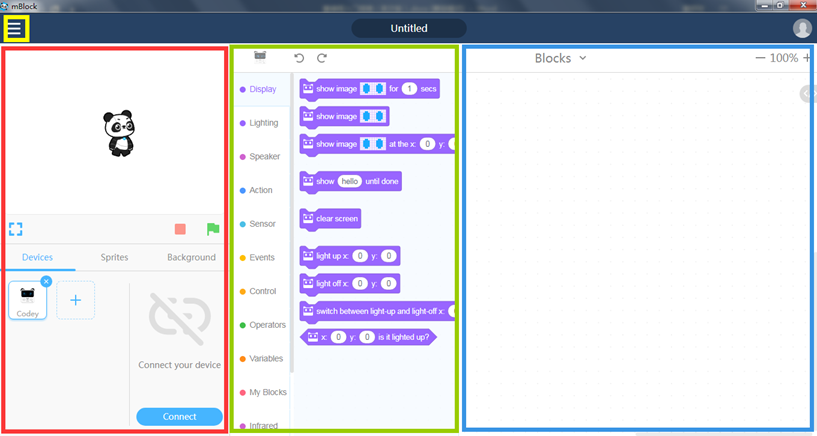
Red: Stage Area Green: Blocks Area Blue: Scripts Area Yellow: Menu
-
Stage Area: You can present your designs, connect devices, set your sprites and backgrounds here.
-
Blocks Area: You can find the blocks you need by category and color in Blocks area.
-
Scripts Area: You can program in the Scripts area by dragging blocks to this area.
-
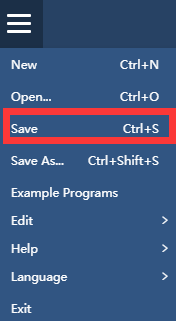
Menu: In this area, you can change the language, open and save files, go to Example Programs and Help.
3. How to Get Started
-Sign up and Sign in
After you sign up and sign in, you will get access to Cloud Data and other features.

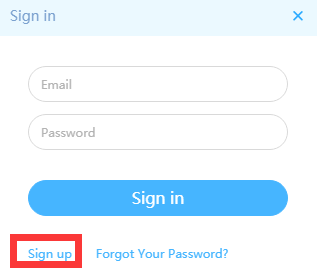
1)Click the icon on the top right corner to Sign up. Enter your e-mail address and the verification code received via the email. Set your password then. Now you have created an account!

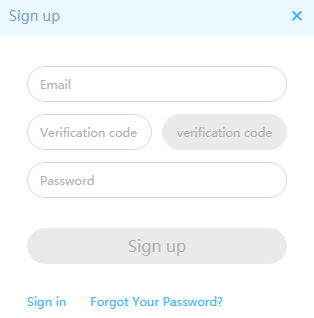
2)After you created an account, return to the home page and click the icon in the top right corner. Enter your e-mail address and password to Sign in.

-Graphical programming
mBlock 5 makes programming as easy as building blocks
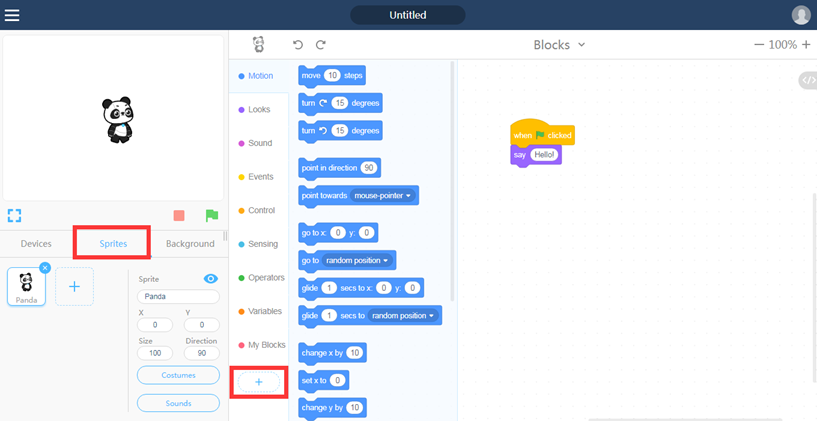
- Select the blocks you need from the Blocks area. Left click the block and hold it. Drag the block to the Script area and drop it.
2)The blocks of different colors and shapes can be connected with each other.
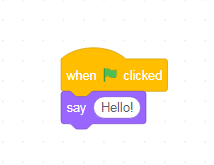
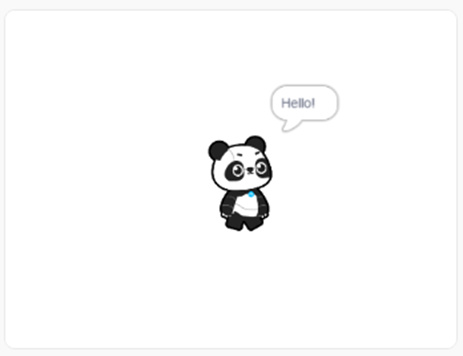
3)Click the block and you can observe the effects directly in the Stage area.
-Add Extension
mBlock 5 will provide users with some basic blocks and you can add more blocks from the Extension Center to do more things.
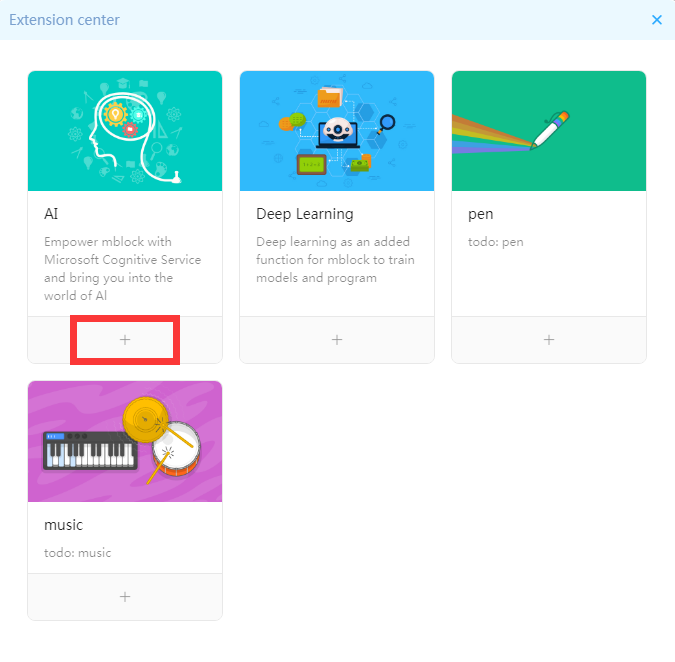
Add New Feature AI
-
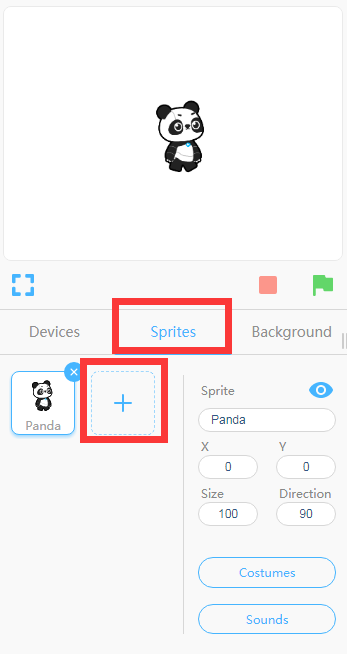
Select Sprite in the Blocks area and click the button +
-
In the Extension Center page that pops up, click the button + to add the AI block.
-
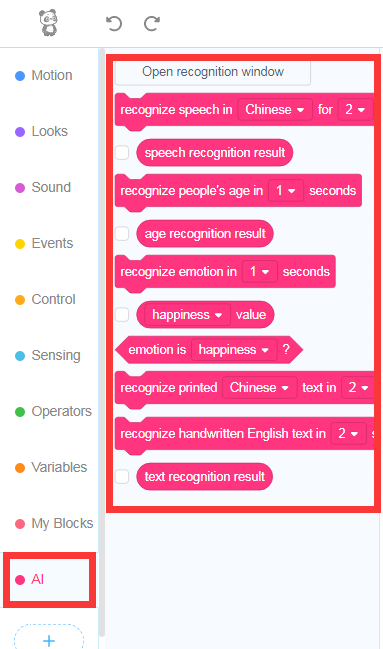
Go back to the homepage. Look, there is a new AI block category here.
Add the IoT Feature
- Select Devices and click the button +
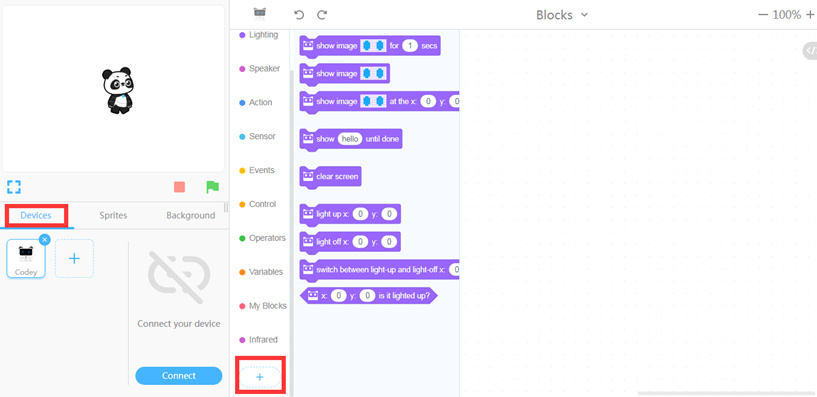
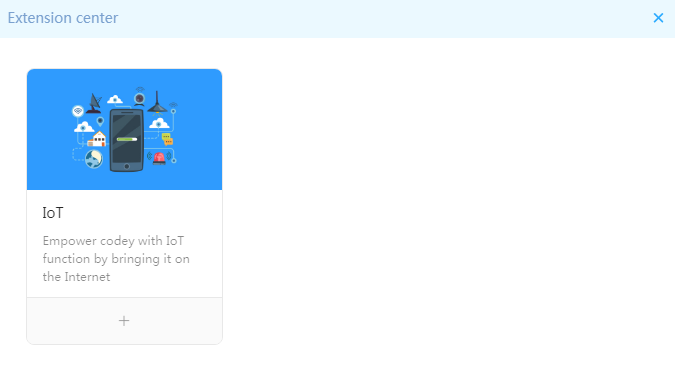
2) In the Extension Center page that pops up, click + to add the block IoT.
- Go back to the home page. Look, a new IoT category is here!
·

-Switch to Python mode
mBlock 5 also supports Python programming. You can write codes with Python language and view the corresponding Python codes behind the blocks. The Python mode not only enables users to create stories, games and animations but also allows users to program hardware like Makeblock robots, Arduino and micro: bit.
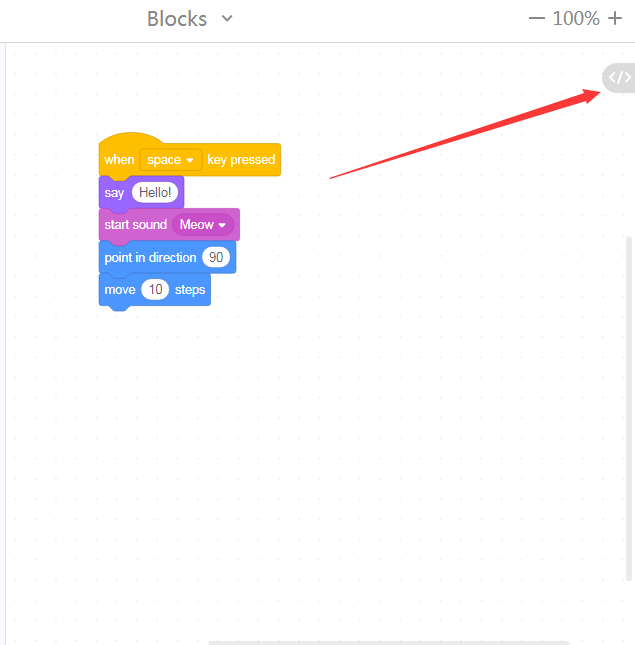
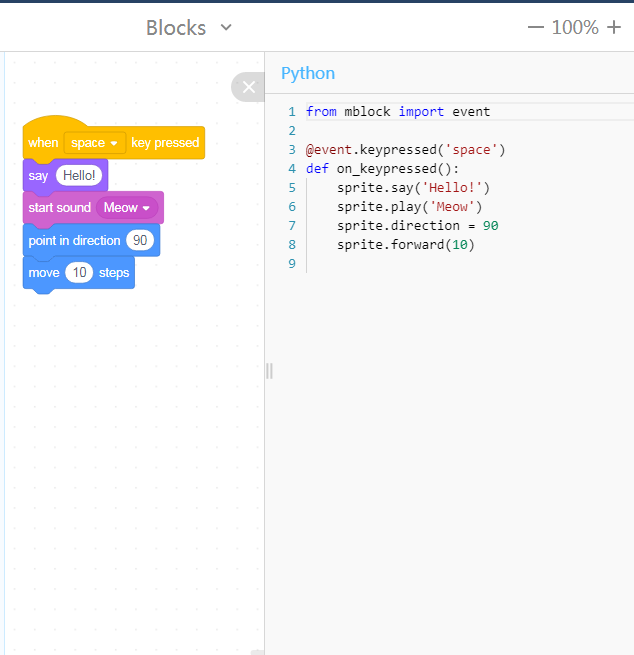
Python Comparison: Click the button <> in the Scripts area to switch to the Python Comparison mode.
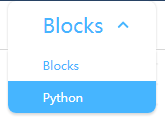
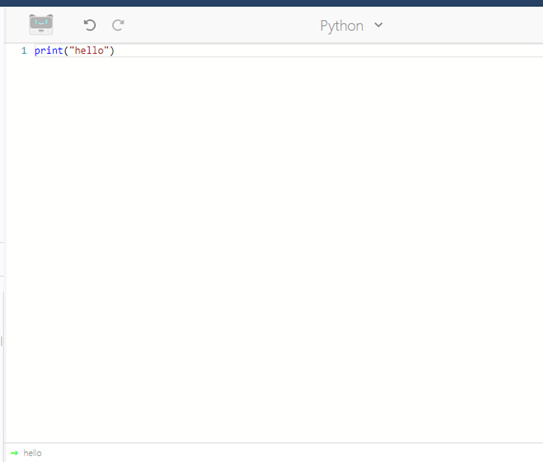
Python Input: In the Script area, drop down the list near the Blocks and select Python. Now you have switched to the Python Input mode. Then, you can write codes here.
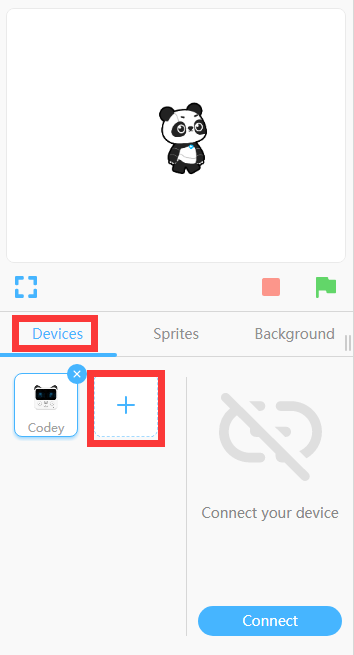
-Add Hardware Device
1) Open the mBlock 5 and click the button + under the Device category.
-
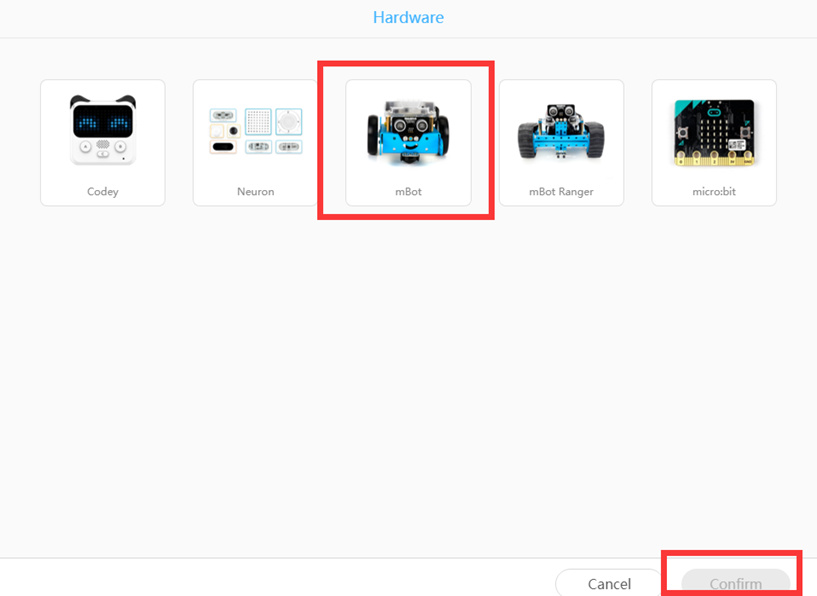
In the Hardware Library, select the Device you need and click Confirm.
-
Go back to the homepage. Look, the new hardware mBot is here. You can continue to add other devices.

-Connect Devices and Upgrade Firmware
Power on your hardware device and connect it to the computer via a USB cable or a Bluetooth dongle.
A. Use a USB cable to connect your device
-
Connect your hardware to the computer via a USB cable.
-
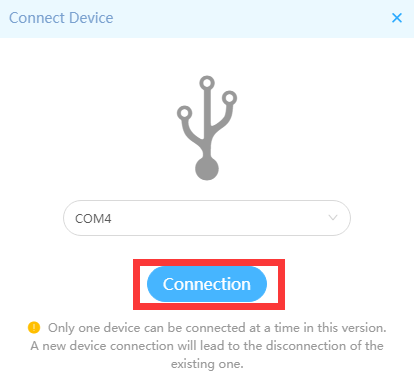
Under the Devices category, select the hardware device you want to connect and click Connect.
-
Click Connection. (Note: COM 4 is the serial port number and it might be different on another system or PC. You can just click Connection.)
-
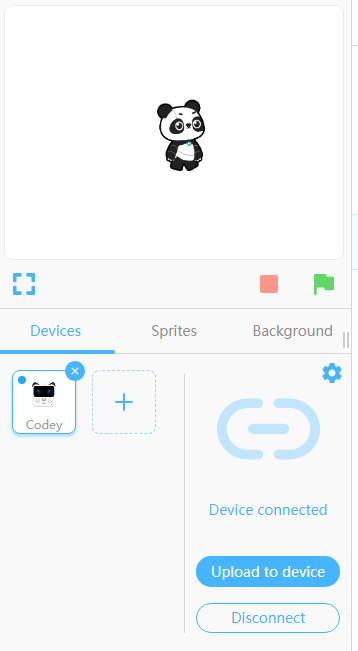
Return to the homepage. If it shows Device Connected, then it means that the device has been connected to the computer.


B. Connect via a Bluetooth dongle
If your computer supports Bluetooth and your hardware device has a Bluetooth module, you can control or program your robot wirelessly.
First, plug the Bluetooth dongle into the USB interface and you will find the dongle flashes blue light. Make sure the device is powered on and put it near the dongle. At this time, the dongle will stop flashing and the blue light will be solid on.
Next, follow the Step 2, Step 3 and Step 4 in Use a USB cable to connect your device
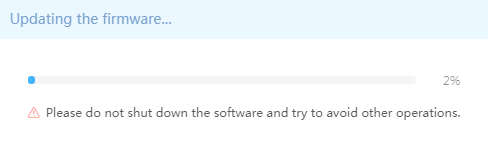
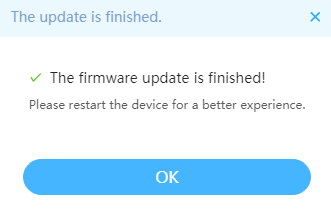
Note: Before you start to control the device with mBlock 5, a window might pop up to tell you Update Firmware. You can just click Update Now. It will take you 2-3 minutes. Then click OK, and the firmware is upgraded now.
-Upload Codes and Online Mode
Upload codes
When you have written your programs, click Upload to Device. Work is done!
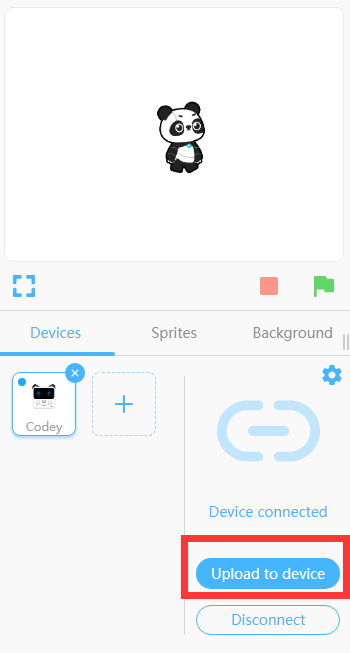
If you want to save the project, then click Save in the Menu to save it locally.

Online mode
With the online mode, you don’t have to upload codes but still can control your hardware device.
1) Connect your device and turn on the Test mode.

-
Drag the blocks to the Scripts area.

-
Click
 to get your device work. If you want to get your device work with the offline mode, you have to upload codes.

-Hardware Interacts with the Stage
Create interactive projects with the Broadcast
-
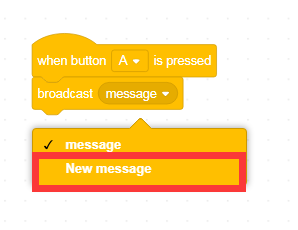
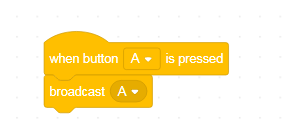
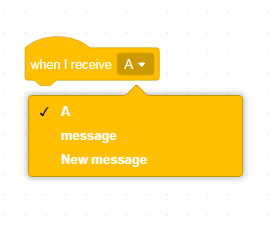
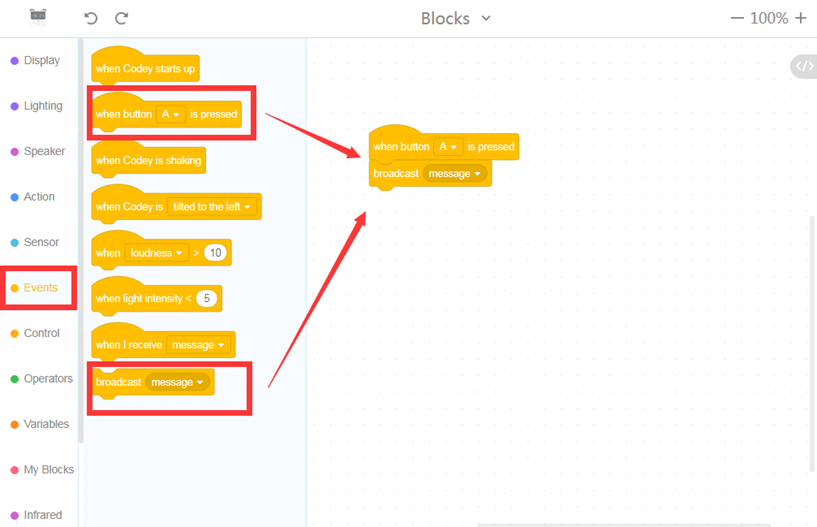
Select the Events category and drag the following two blocks to the Scripts area.
-
Create a New message and let Codey broadcast A when button A is pressed.

-
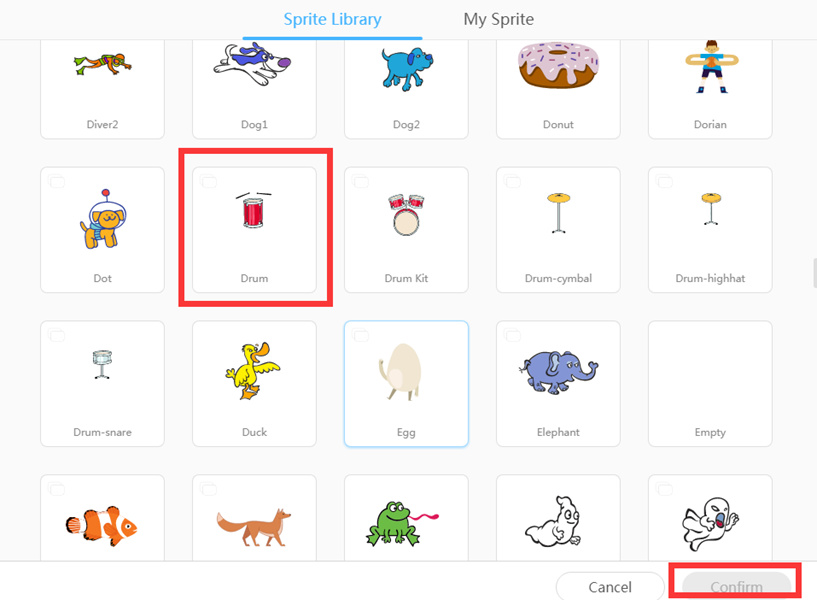
Add a new sprite Drum to the Scripts area.
-
Click the new sprite drum and start to write programs for the drum.

-
Click Devices, select Codey and upload programs to the device. Now, the sprite drum will play a real drum sound through the computer.
-
Similarly, you can add more instruments sprites and have a concert for Panda!


**4. Teaching Resources **
-Example Programs
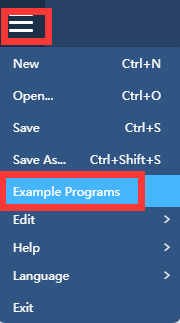
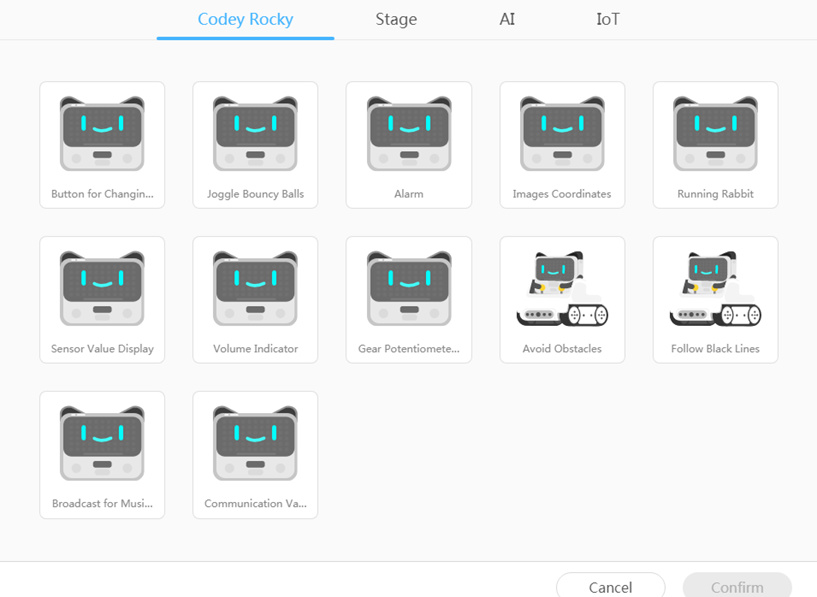
The mBlock 5 offers users a wide range of example programs. To get access to them, you can just click the Example Programs in the Menu.
-Makeblock Education site
Get more teaching resources which are specially designed for teachers at:
http://education.makeblock.com/