Jackpot!
Today I finally nailed the quality issue that have bugged me! Yesterday I completed the design of the new extruder. It is even more compact than I hoped for, so it only takes up 7x11 holes!
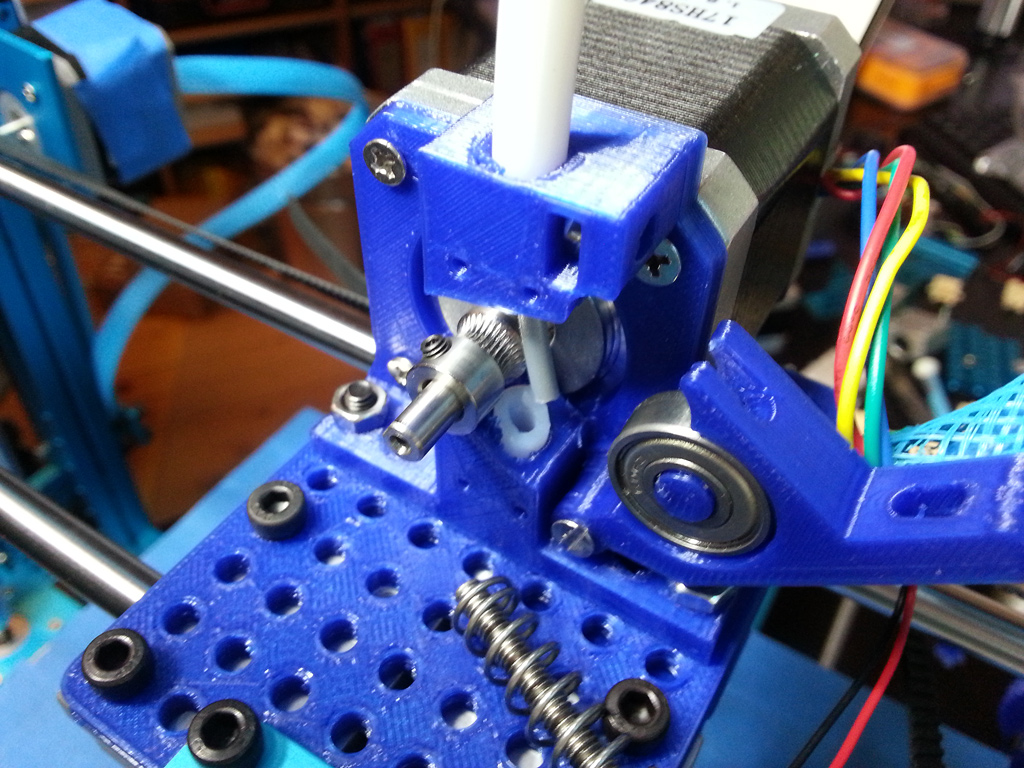
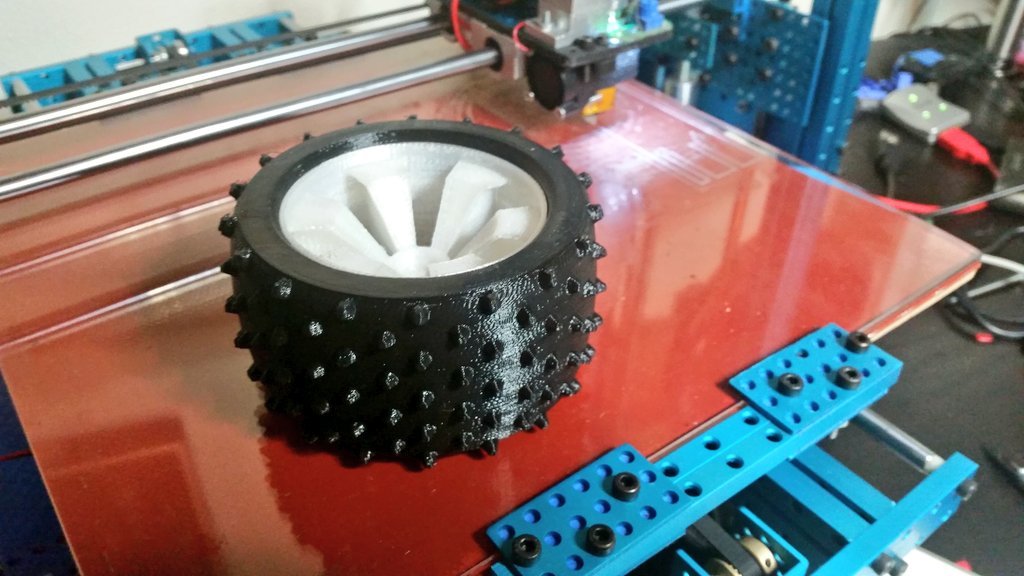
The MK8 extruder wheel is really compact and the material idles against this and the bearing. Note the white PTFE tube leading both into and out of the extruder. This will ensure that soft materials slide with as little friction as possible.
The 3D files for the extruder are now up on my Youmagine account, so feel free to download if you want. After todays upgrade of the Z-axis, these are also the only printed parts in the design. Apart from electronics and the E3D hotend, the rest is all Makeblock parts! The fully adjusted firmware for the Megatronics are also updated on my Github page.
Designing and testing the extruder took a full day and today was spent on changing the entire Z-axis. I initially tried to make this axis using Makeblock parts, but at the time I was low on 7x9 plates so I didn’t find a solution that worked. Instead I modelled and printed some brackets and now they were breaking up.
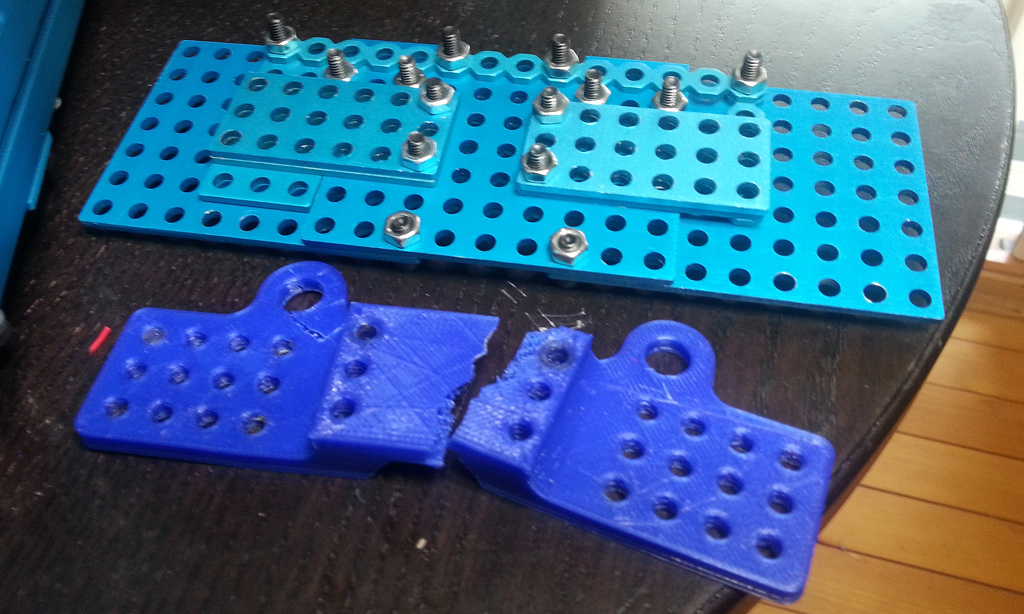
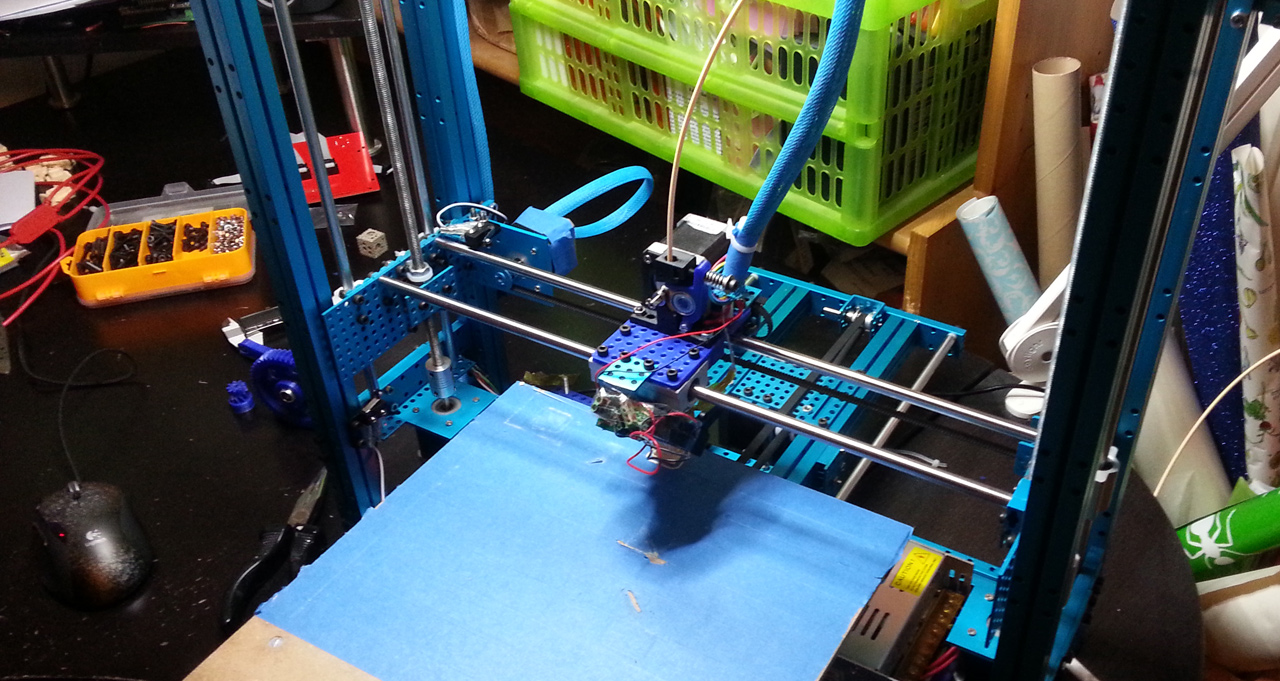
I did maybe 6 different solutions until settling on the one above the broken plastic part. The new design forced me to cut the linear rods again. Easily done with a Dremel and a cutting disc.

Note that I’m only cutting one end, so I’m keeping the threads on the other side. I had to clamp the long nut with a 3x6 plate as well as secure it with zip’s but the end result is now really solid. I’ll need to tweak the cables on the extruder a little, but I’m very happy with the overall looks now.
Lots of things had to be changed to make this possible, but the end result was really worth it since the wobblyness in all prints are now completely gone! Just look at this:
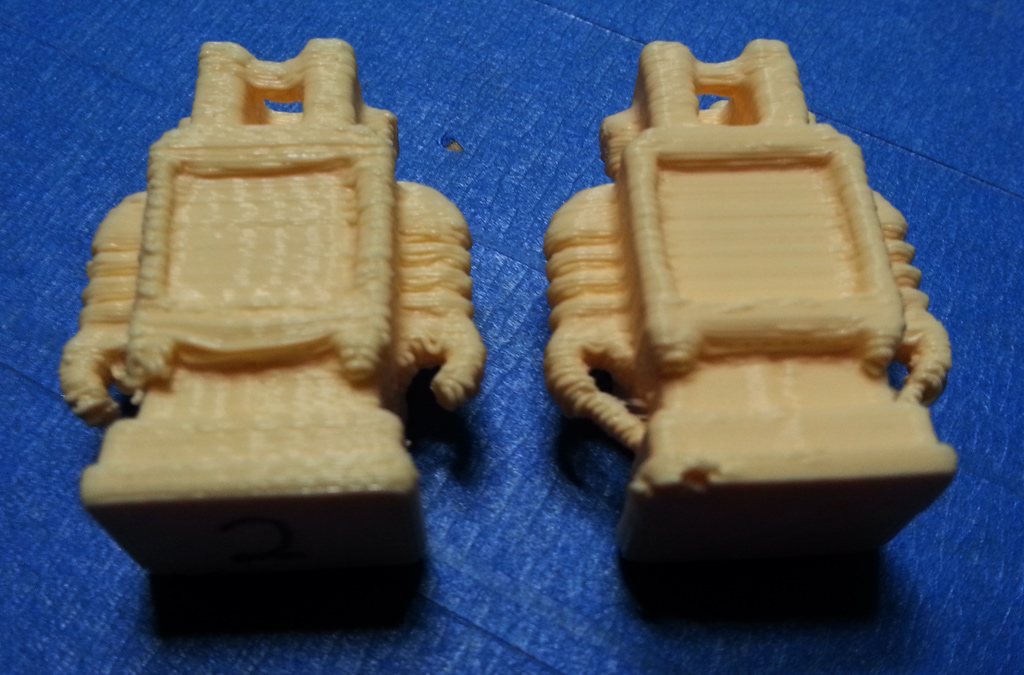
This looks MUCH better, doesn’t it? Next up I wanted to compare it with the Ultimaker!
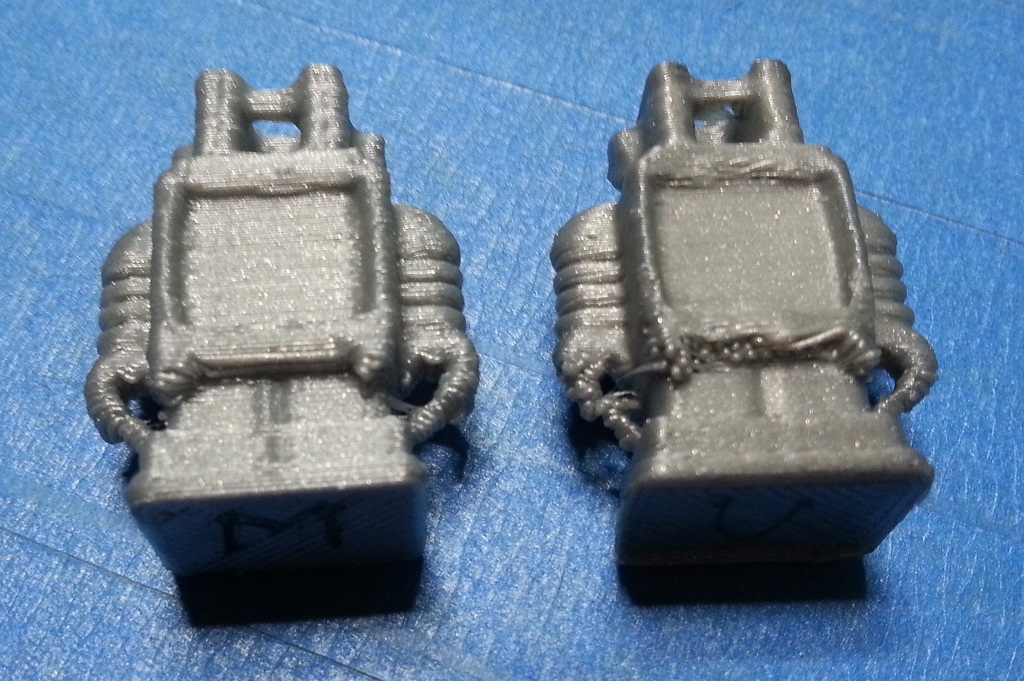
Wow! The Makeblock-printed robot (M on the bottom) looks BETTER than the Ultimaker (U on the bottom)? That I did not expect at all. Let’s have a look at the front?
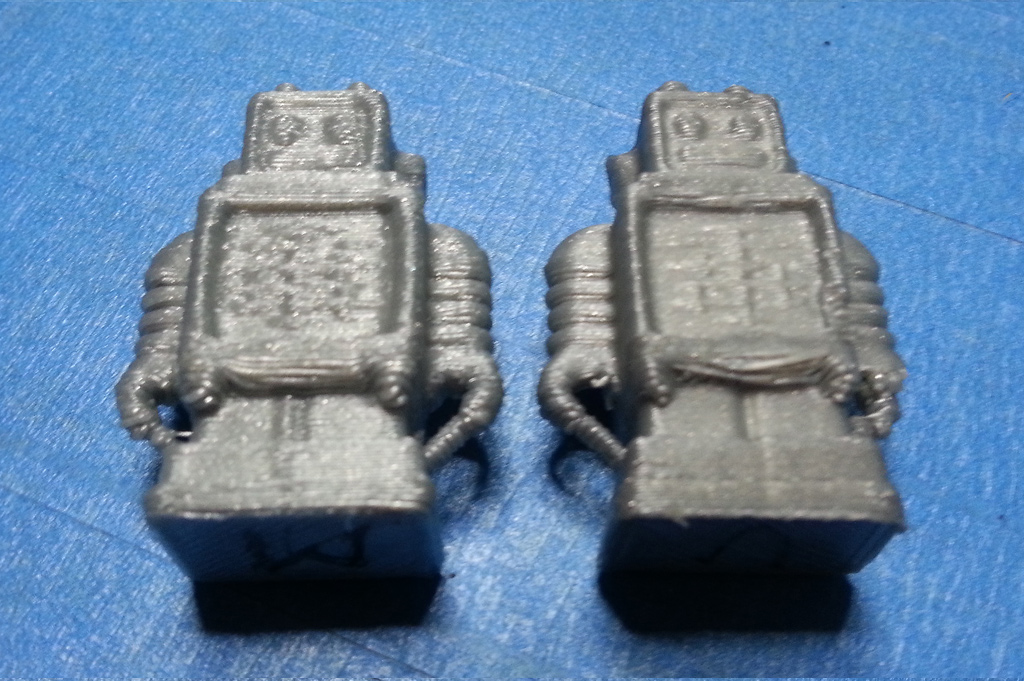
Aha… That made me sober again. While the UM is sagging more, it has a lot more of fine detail on the front. It’s not that much of a difference though and I’m sure I can get it close by just tightening the belts a little more.
Another good thing about the rebuild - the Z-axis now extends to 34 cm! That gives the printer a total build volume of 32600 cm2 (31 x 31 x 34 cm). Not bad and above what I aimed for! I’v summed up all the advantages of the printer design in this blog post. Can’t think of any disadvantages yet 
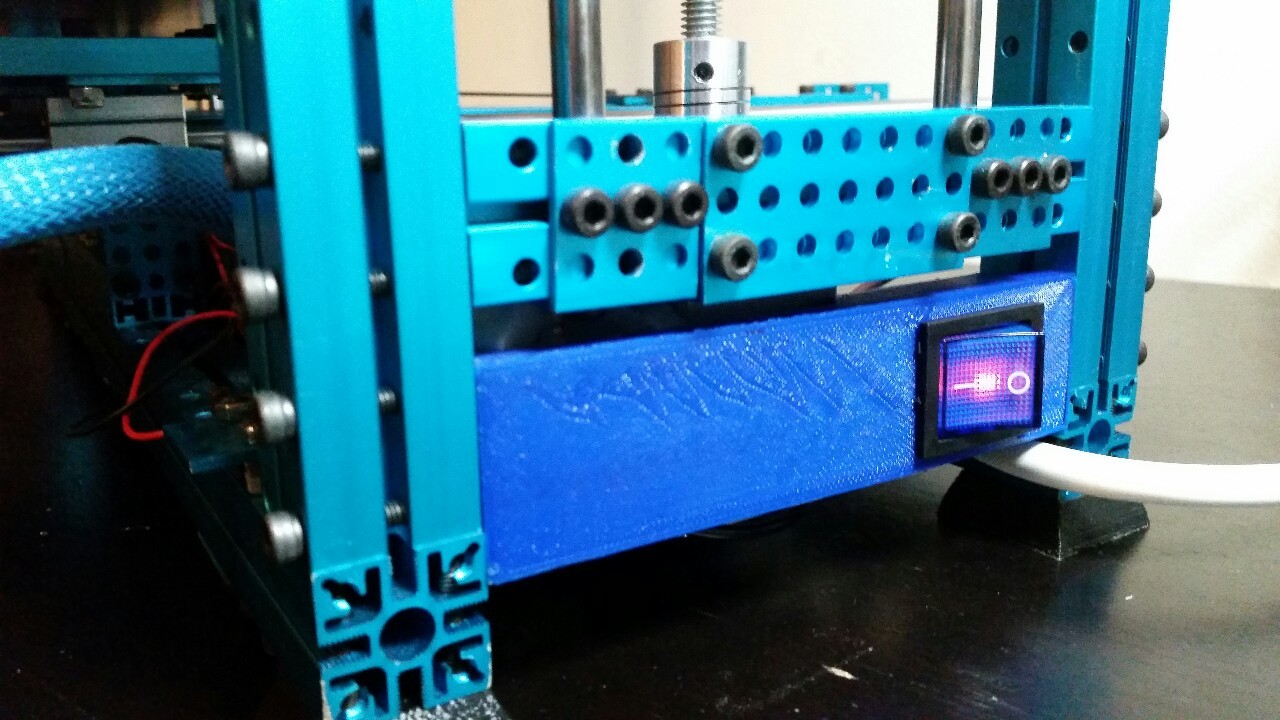
I’m rather confident that this is my final design, so I’ve started working on the Bill Of Materials (BOM) in case others want to build a similar printer. After this I’ll tighten up some cables, add an external controller for USB-free printing and set up the heated build surface.
Here’s a video of it printing!