As I was (and still am) very unhappy with the Makeblock control app, provided by the Makeblock guys, I worked on creating my own little BT based remote control. Many of us seem to have problems to understand how easy it actually is to make use of Bluetooth for individual remote control apps, so here I present my solution as an example on how to remote control your Makeblock robot via Bluetooth and an Android app of your choice and how to design a sketch for it. You will find the complete sketch at the end of this post, ready for you to copy and experiment.
Here is an image of my modified robot tank which is controlled through this solution (ultrasound and gyro module not used here).

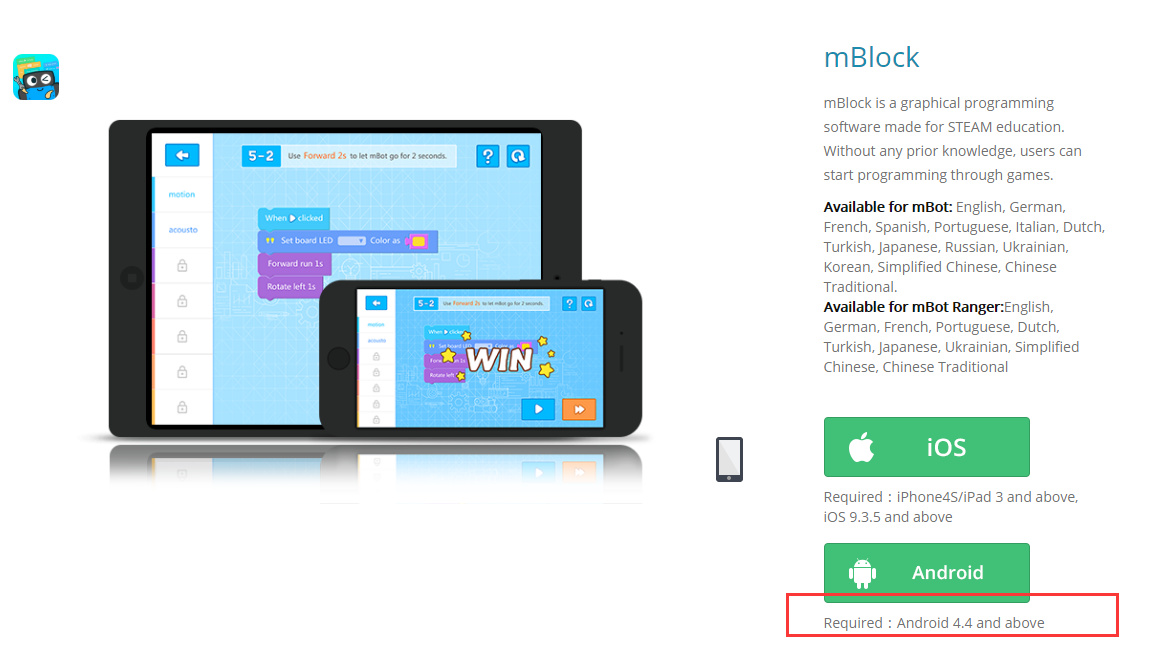
In order to implement this example, an Android app to control Bluetooth communication is needed. I used this one:
Bluetooth Control Programmable
There are loads of similar apps available, both for Android and IOS. Many of them are more advanced than this one, just try them out and find your personal favourite. Here are some images of how the remote control interface looks on my Samsung Note tablet:
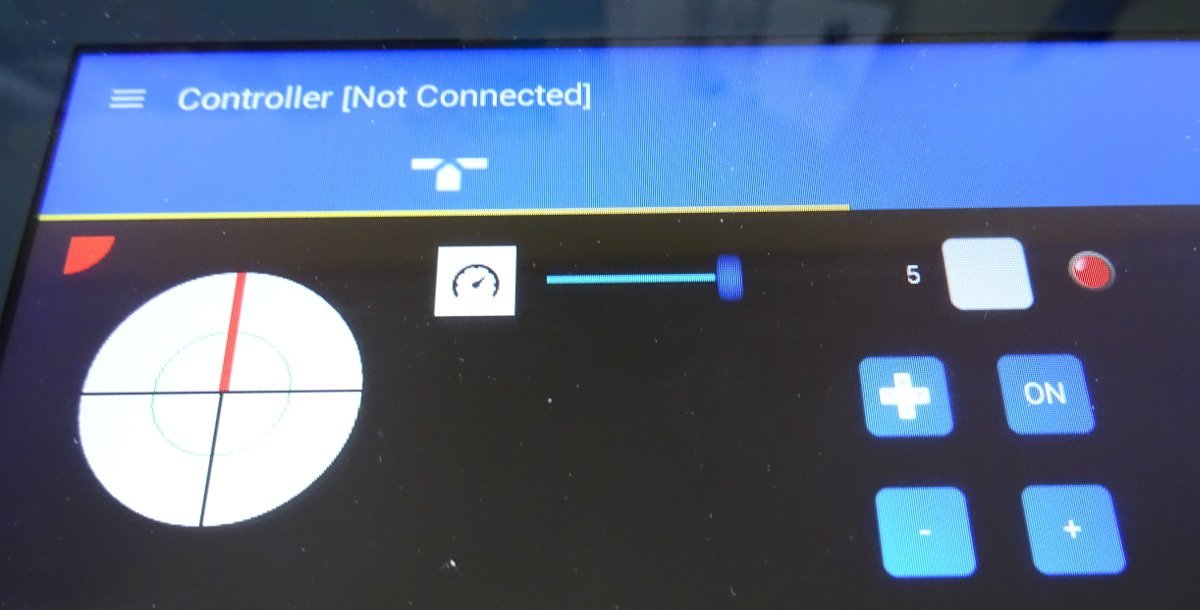
The circle on the left is used to drive the bot with your thumb. The slider in the centre is not used by me. The + and - buttons are used to modify the speed.

When I saw this fancy Joystick for Android devices I just had to test it out…it works!!! 
The app is “programmed” by assigning characters to the individual driving directions and the buttons and slider, as displayed below.
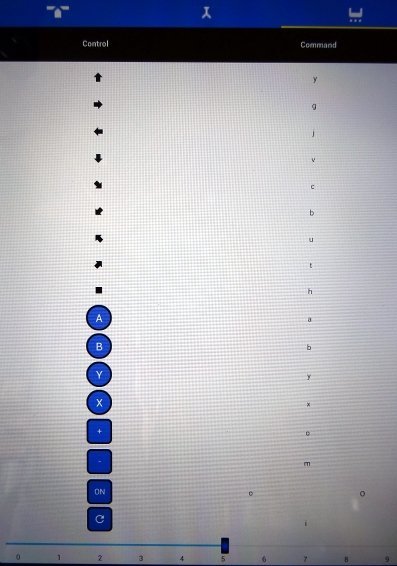
The app I used has a fixed graphical interface. Others allow for freely designed interfaces. These are often not free to use. If you find other apps which you got working please post a reply to this thread and include the link.
The robot sketch needs to take care of two actions:
- Read the Bluetooth input
- Control the two motors which drive the belts, accordingly
Bluetooth needs to send just one character at a time in order to let the robot know what the user wants. This is captured through a very simple function:
/*BT read function*/
char readBT(){
  char btIn;
  btIn = (char) bluetooth.read();
  return btIn;
}
For the drive control, a set of small functions, one for each direction, are created:
void turnLeft(){
  rightMotor.run(rightSpeed);
  leftMotor.run(-leftSpeed);
}
Finally, in the main loop of the sketch, all BT input is captured and the movement functions are called through a switch-case construct:
void loop() {  //Runs until power-off
  if (bluetooth.available()){   //Don't do anything without bluetooth connection
    char cmd = readBT();        //Read Bluetooth input
    switch(cmd){                //Do what you've been told :-)
      case 'y':
      forward();
      break;
      case 'v':
      backward();
      break;
      case 't':
      toLeft();
      break;
      ...
    }
  }
}
switch - case can be used here as we only handle single-character messages. If this was longer strings, if would have to be used instead.
This is basically all that’s behind the secret of creating your own individual remote control through Bluetooth. Please find the complete sketch below the line, copy and paste it to your Arduino IDE and modify as you like. Give me some feedback if you improve it.
Cheers, Stefan
Complete Arduino IDE sketch, used for this example
based on Arduino IDE 1.6.6 and Makeblock library 3.22
/**
 * \par Copyright (C), 2016: This Arduino sketch is provided under GPL-V3
 * @file    Remote_Tank_BT-Control_SRO.ino
 * @author  Stefan Rothe
 * @version V1.0.0
 * @date    2016/02/12
 * @brief   Description: this sketch demonstrates the usage of MeBluetooth
 *          as means to remote-control a tank.
 *
 *
 * \par History:
 * <pre>
 * <Author>     <Time>        <Version>      <Descr>
 * Stefan Rothe 2016/02/12    1.0.0          BT_to_serial_comms using String instead of char[]
 */

  /*Include needed libraries*/
#include "MeOrion.h"
#include <Wire.h>
#include <SoftwareSerial.h>

/*Sensor definitions*/
MeDCMotor leftMotor(M1);
MeDCMotor rightMotor(M2);
MeBluetooth bluetooth(PORT_5);

/*Variable definitions*/
int8_t leftSpeed = 60; //left motor speed
int8_t rightSpeed = 60; //right motor speed
double turnSpeed = 0.6; //factor for reduced speed of inner belt during curves

void setup() {  //Runs once at startup
  bluetooth.begin(115200);
}

void loop() {  //Runs until power-off
  if (bluetooth.available()){   //Don't do anything without bluetooth connection
    char cmd = readBT();        //Read Bluetooth input
    switch(cmd){                //Do what you've been told :-)
      case 'y':
      forward();
      break;
      case 'v':
      backward();
      break;
      case 't':
      toLeft();
      break;
      case 'u':
      toRight();
      break;
      case 'g':
      turnLeft();
      break;
      case 'j':
      turnRight();
      break;
      case 'c':
      backLeft();
      break;
      case 'b':
      backRight();
      break;
      case 'h':
      halt();
      break;
      case 'm':
      slowDown();
      break;
      case 'o':
      speedUp();
      break;
    }
  }
}

/*BT read function*/
char readBT(){
  char btIn;
  btIn = (char) bluetooth.read();
  return btIn;
}

/*Moving funktions definitions*/
void forward(){
  rightMotor.run(rightSpeed);
  leftMotor.run(leftSpeed);
}

void backward(){
  leftMotor.run(-leftSpeed);
  rightMotor.run(-rightSpeed);
}

void slowDown(){
  leftSpeed = leftSpeed - 10;
  rightSpeed = rightSpeed - 10;
}

void speedUp(){
  leftSpeed = leftSpeed + 10;
  rightSpeed = rightSpeed + 10;
}

void halt(){
  leftMotor.stop();
  rightMotor.stop();
  delay(100);
}

void toRight(){
  leftMotor.run(leftSpeed);
  rightMotor.run(rightSpeed*turnSpeed);
}

void toLeft(){
  rightMotor.run(rightSpeed);
  leftMotor.run(leftSpeed*turnSpeed);
}

void backRight(){
  leftMotor.run(-leftSpeed);
  rightMotor.run(-rightSpeed*turnSpeed);
}

void backLeft(){
  rightMotor.run(-rightSpeed);
  leftMotor.run(-leftSpeed*turnSpeed);
}

void turnLeft(){
  rightMotor.run(rightSpeed);
  leftMotor.run(-leftSpeed);
}

void turnRight(){
  rightMotor.run(-rightSpeed);
  leftMotor.run(leftSpeed);
}