Hello,
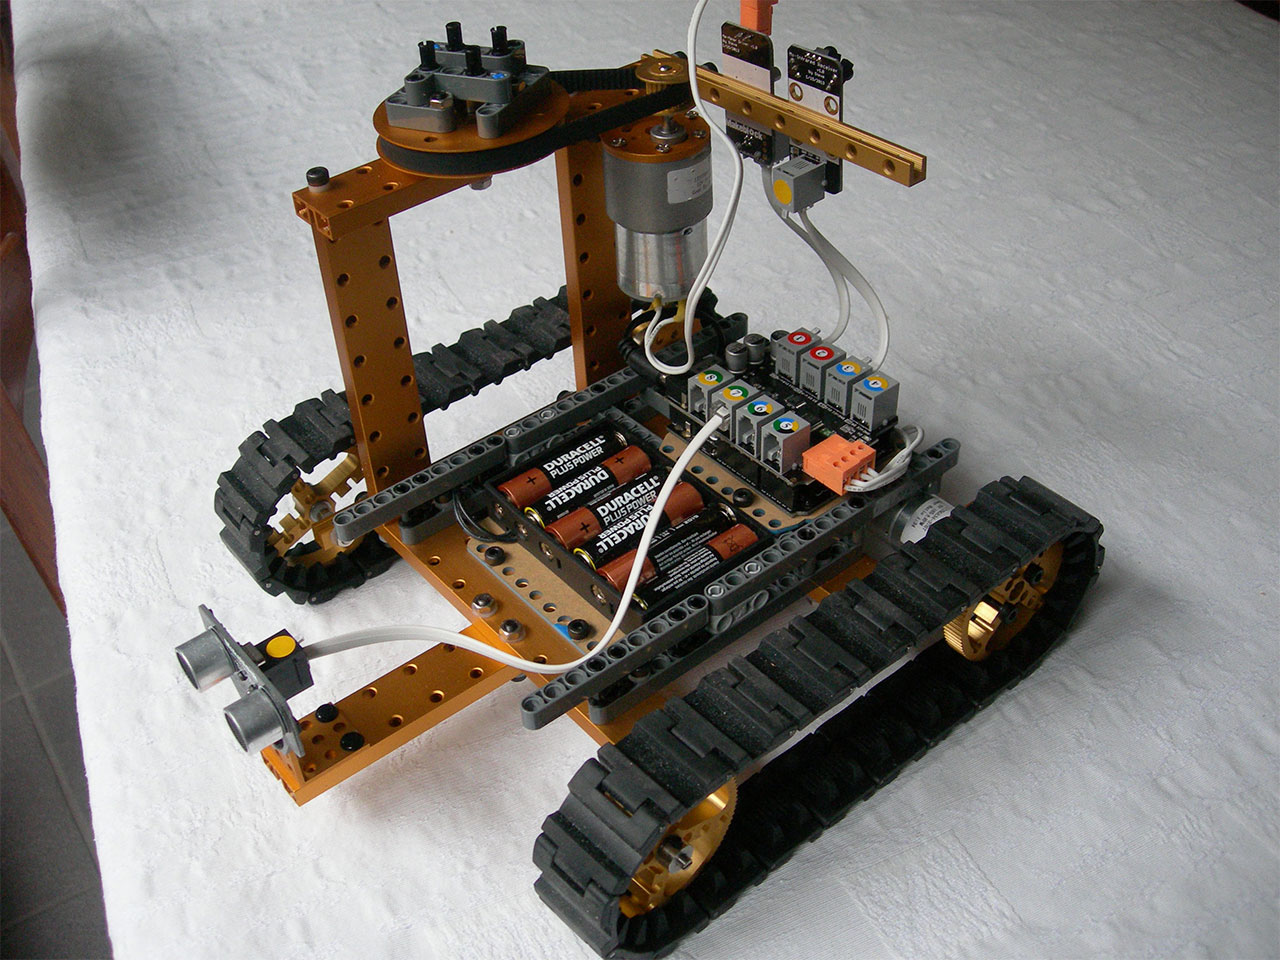
this is not really a showcase, but a simple tank that I built back in April 2013 when I received the advanced kit. The goal was to have a makeblock tank drive and a Lego gripper arm (with Lego brick) on top of it.
I just disassembled the robot, so if you want to use this as building instructions, then start at the bottom 
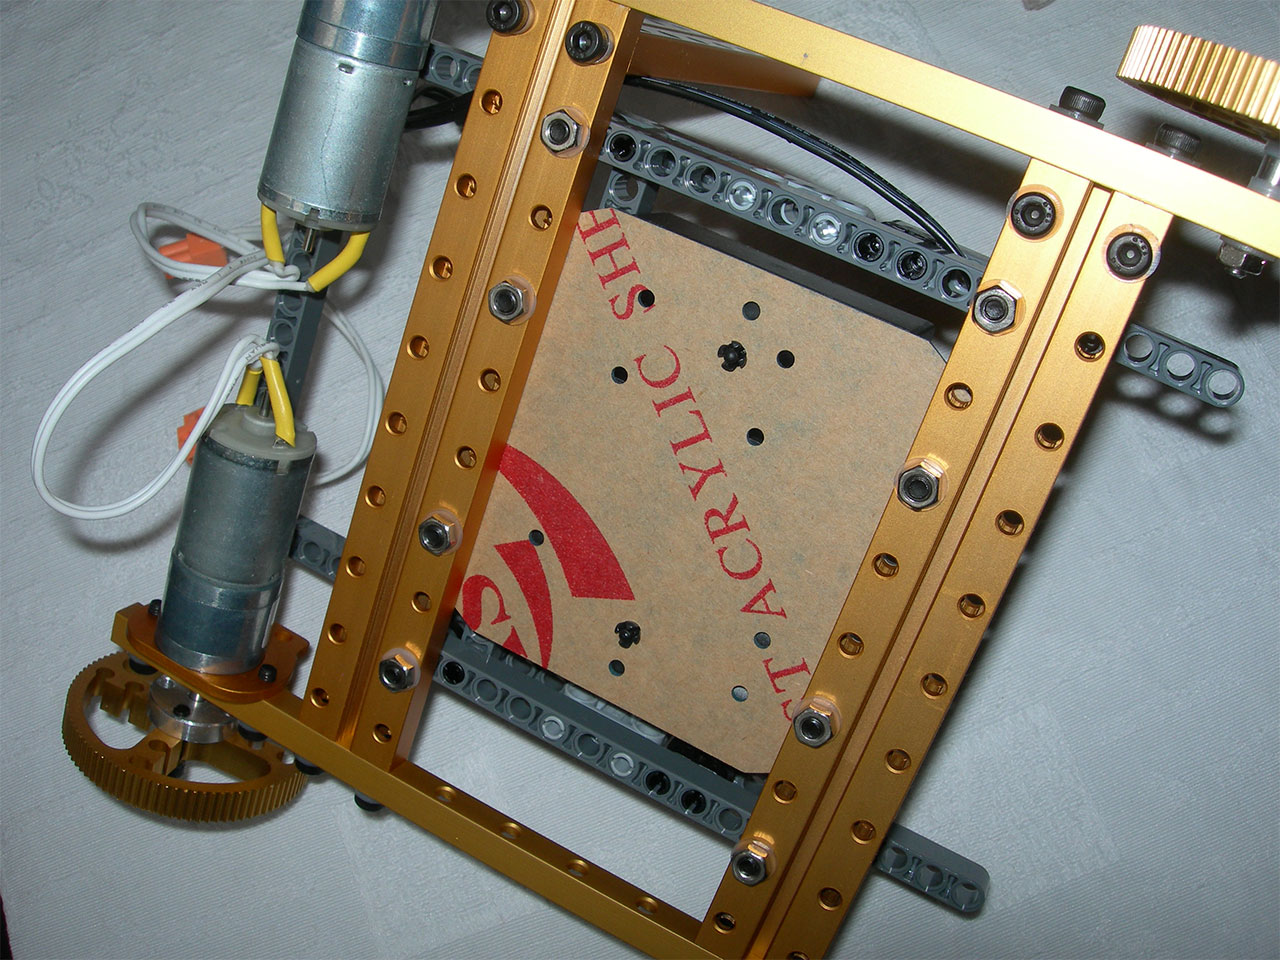
This is the robot (without the Lego brick). The rubber tracks are quite stretched, otherwise the wheels kept spinning without the tracks moving. You can see the studless Lego beams around the batteries, the holes allowed for a Lego brick to be directly attached and easily detached.
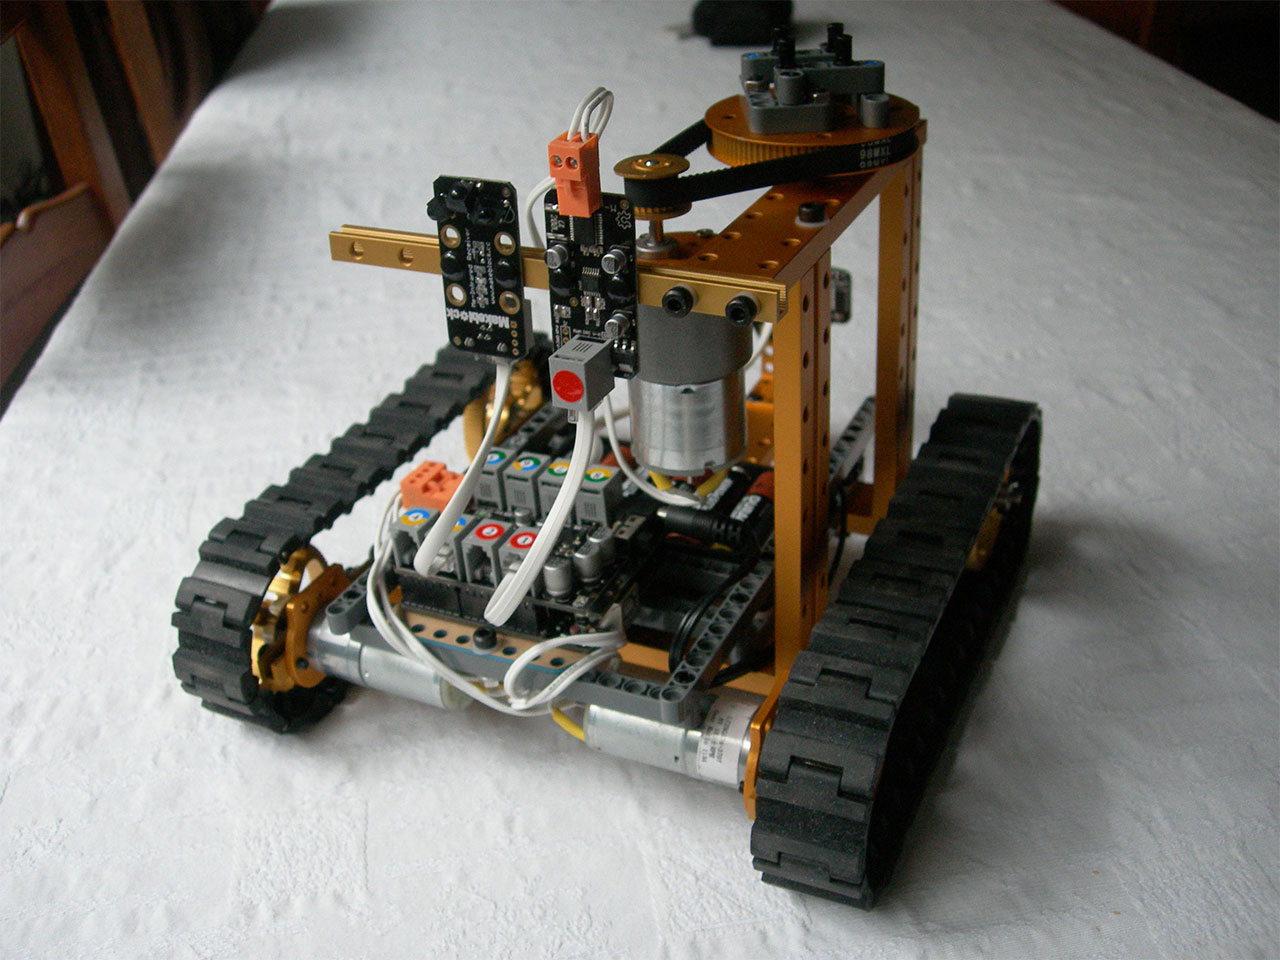
This is the other side:
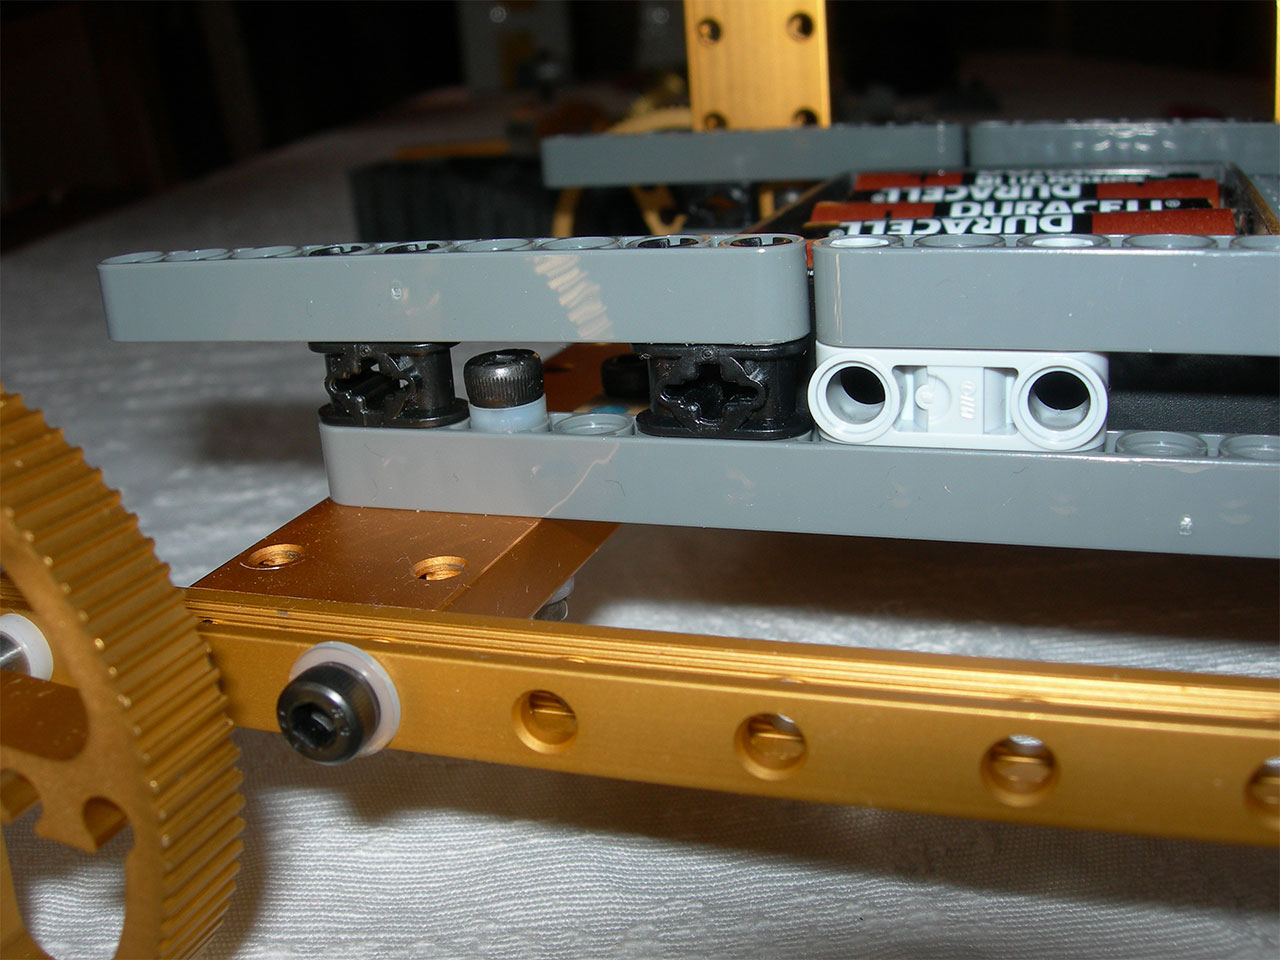
Here you can see how I attached the Lego studless beams to the makeblock aluminium. I used the plastic rings provided by makeblock, and a long screw to very carefully attach the Lego. Not too tight, but tight enoug to not loosen on a bumping tank…
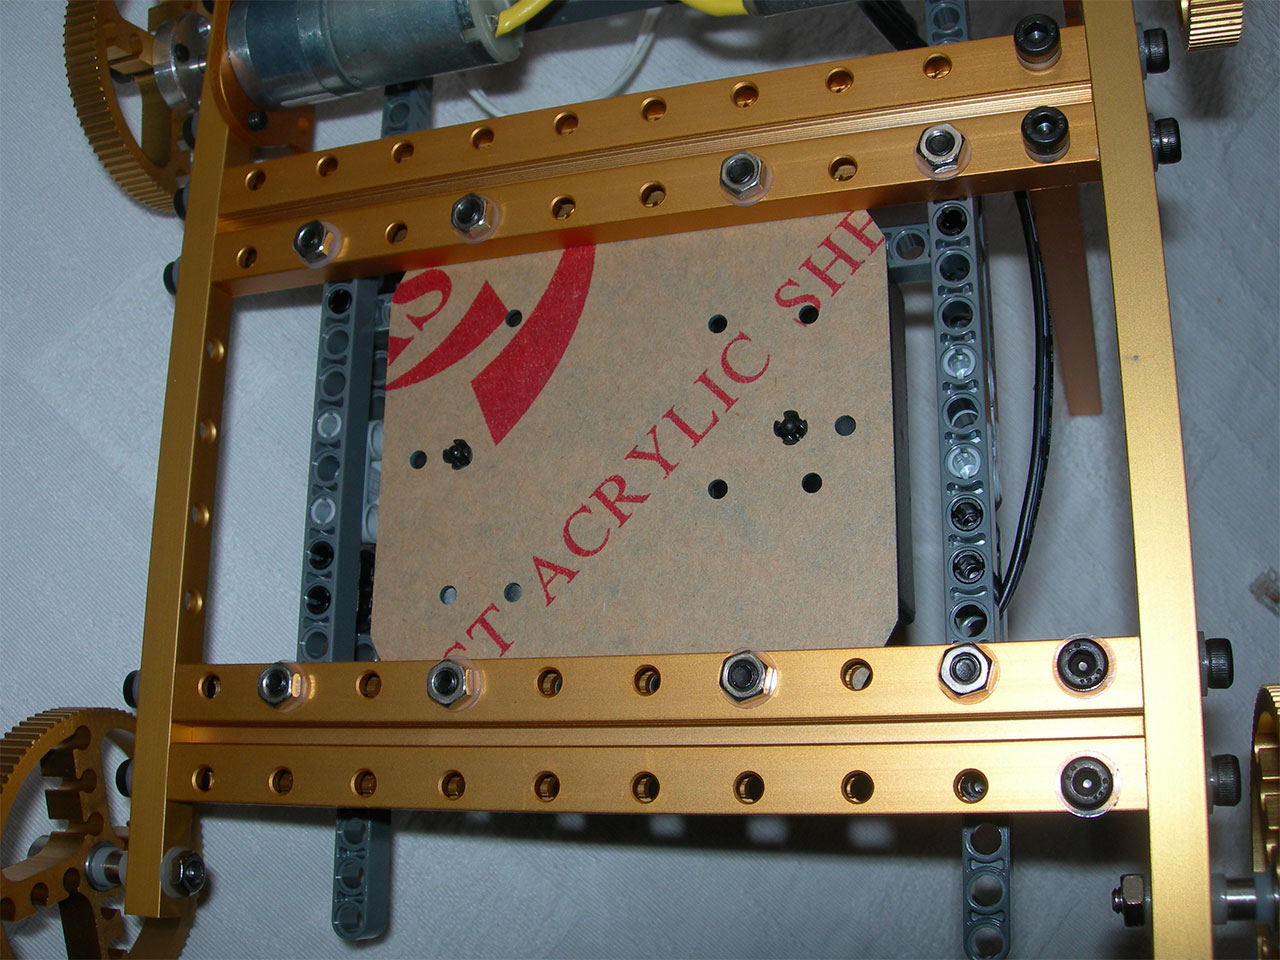
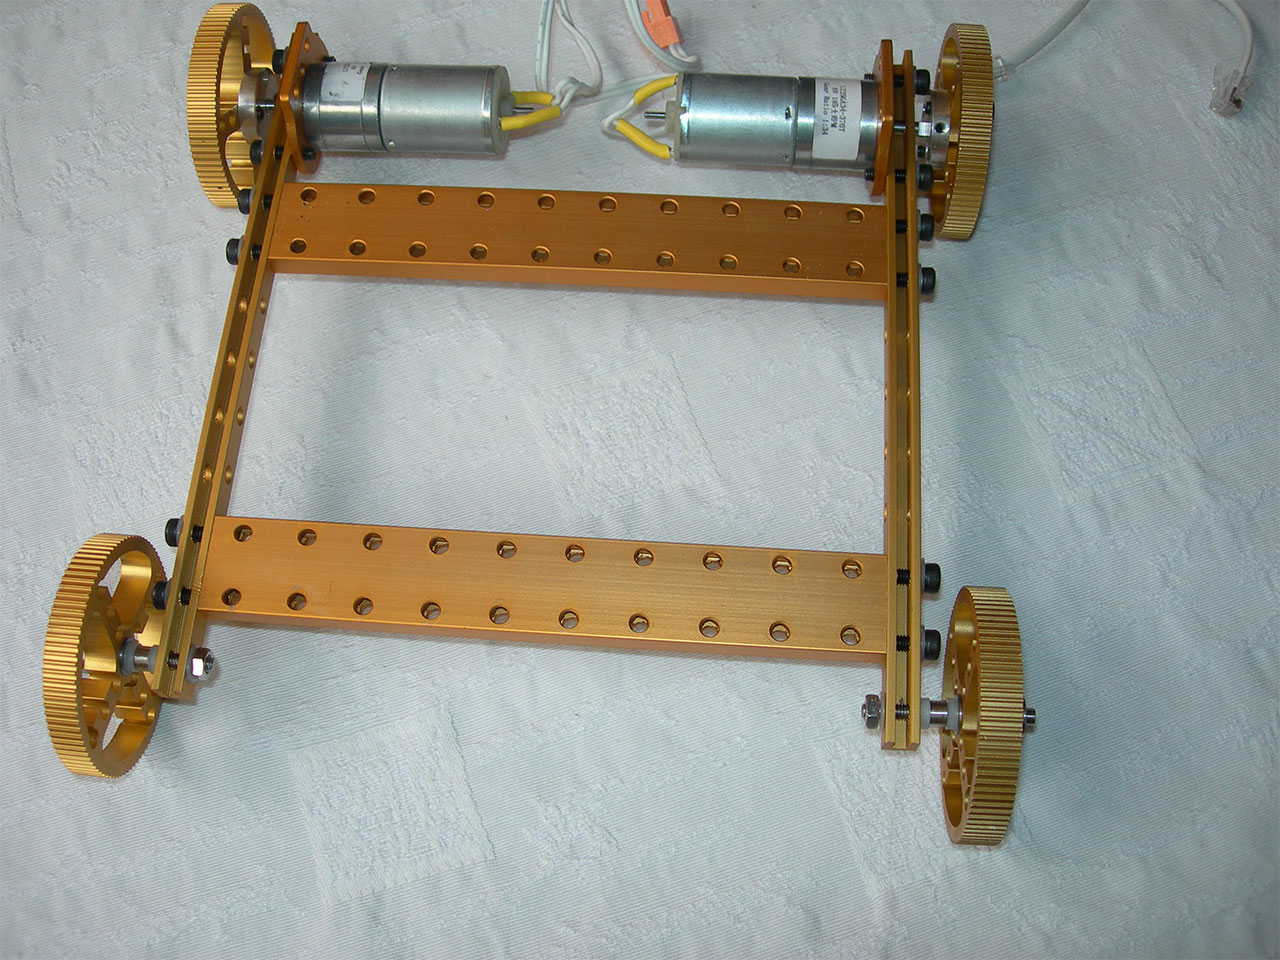
This is the bottom showing four screws to hold the battery pack and four to attach the Lego studless beams.
Another view of the bottom, with motor attachment. I followed the makeblock guide to attach the motors and create the wheels.
This is the wheel base. One of the wheels (right bottom in this pic) was loose. I didn’t drive the robot a lot (about 15 times for an average of one minute I guess). Still, this one wheel was about to fall off (my mistake obviously, I should tighten it more).
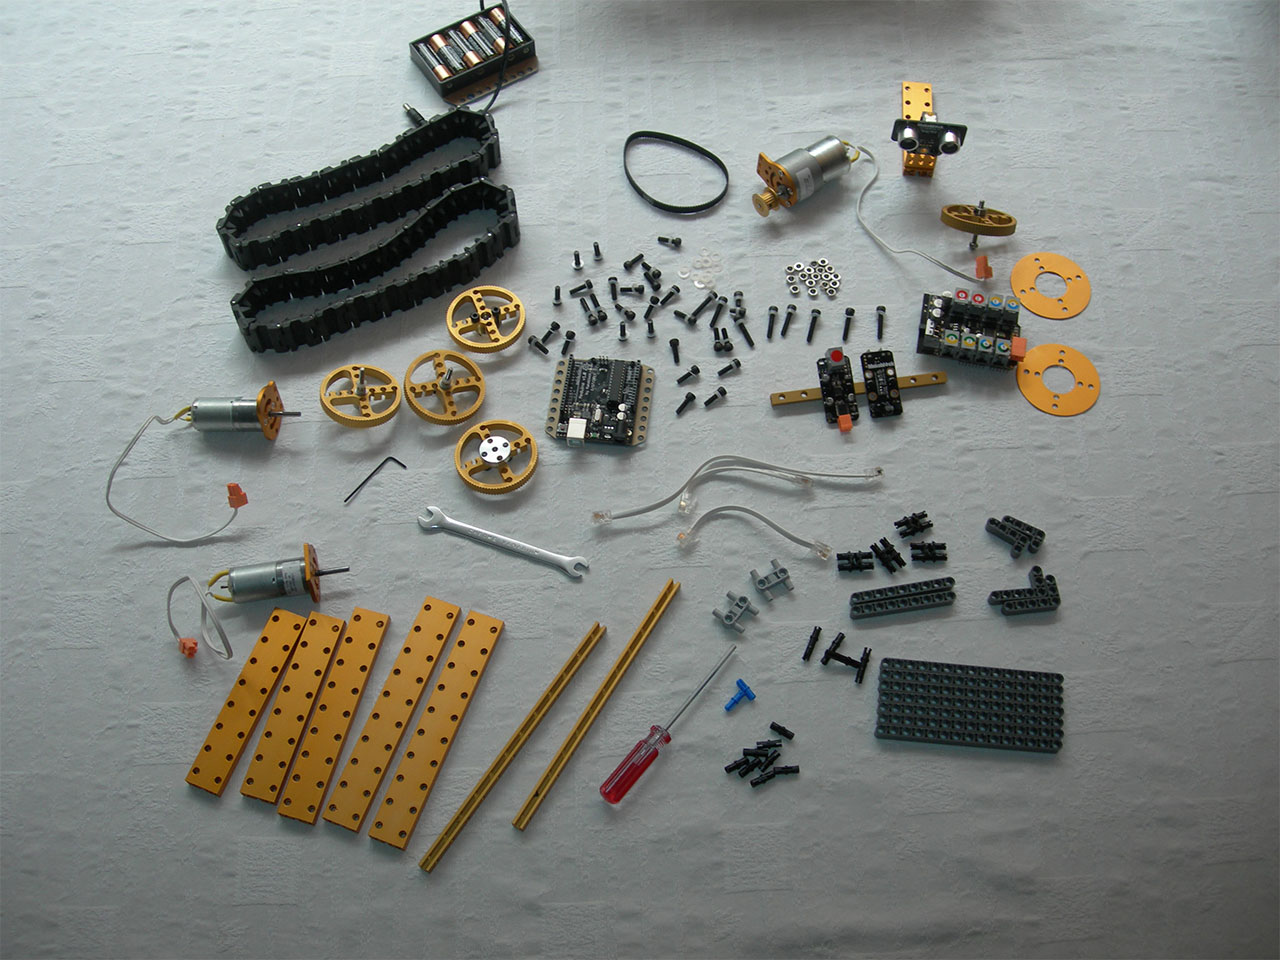
And finally, here all the parts used (both makeblock and Lego). I did not manage to have the Lego communicate with the Arduino (lack of time), so they operated seperately (no pics or videos).
I will make another post with some issues I had when building.