mBot simulator


#1

Hi, hello world post!
I recently take contact with this beauty and started to write a software simulator for it.
It’s better to play with the real hardware but sometimes some simulator trials are handy.
Here some simple code for line follow and obstacle avoidance tested on the simulator:

https://www.youtube.com/watch?v=JgEZkf1Qqsg

https://www.youtube.com/watch?v=Qn1Z0HRpTrg

Juan


#2

Cool! Can you debug your code this way?

Greetings, PinkyPepper


#3

The simulator I´m writing connects to a serial port waiting for commands from scratch, as if it were the mBot hardware. Basically i emulate with my software the mBot behavior. Now I only recognize and respond to a very few commands: set motor speed basically and report line followers data and ultrasonic sensor distance.

I use a software called VSPE (virtual serial port emulator) which creates a couple of linked serial ports, so my program connects to one serial port and scratch is connected to the other. Having the link between both programs made, then you just write scratch code and click the green flag to simulate it.

Another way of doing the link between both programs is to have 2 usb serial converters wired properly. In this case you end with to hardare (not virtual) serial ports, one for the simulator and the other for scratch.


#4

Thanks for explaining! I don’t have enough knowledge about these topics to try it myself, but it sounds interesting.

Good luck with your mBot simulator!

Greetings, PinkyPepper


#5

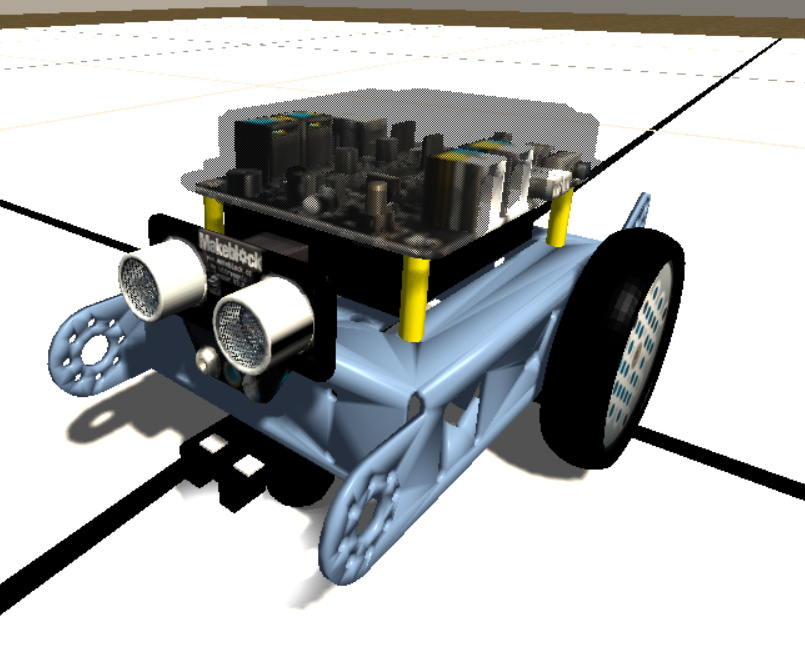
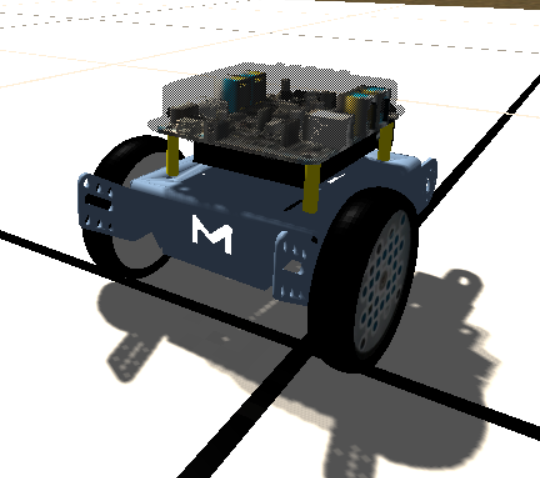
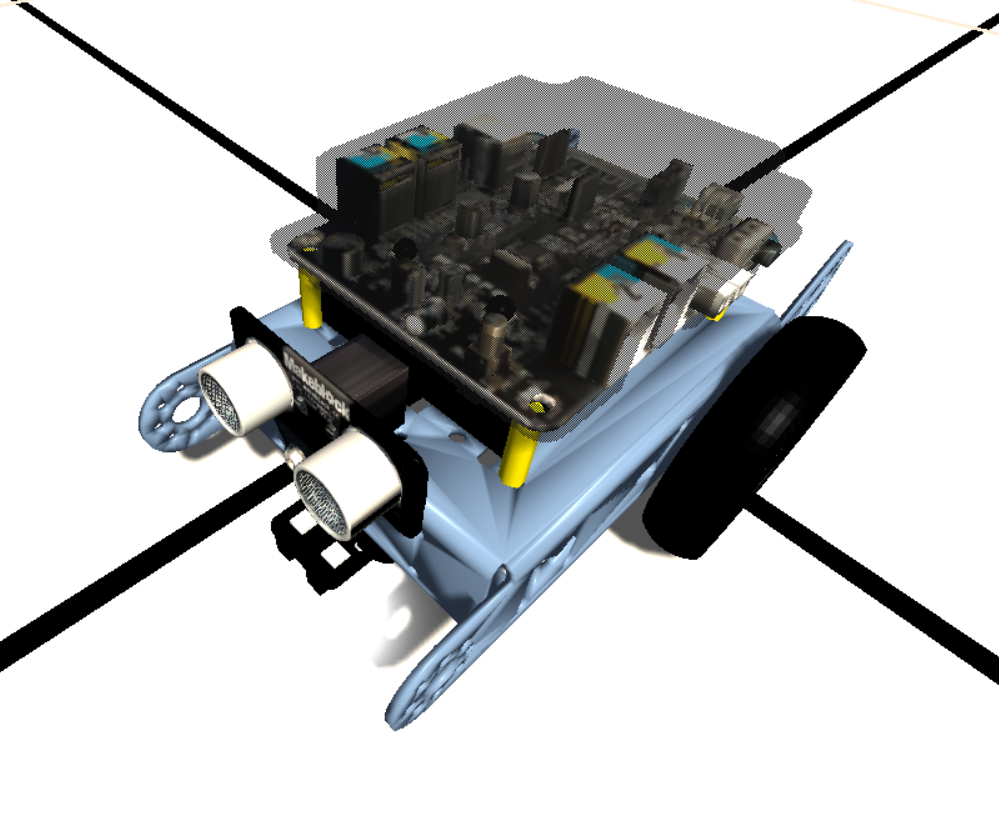
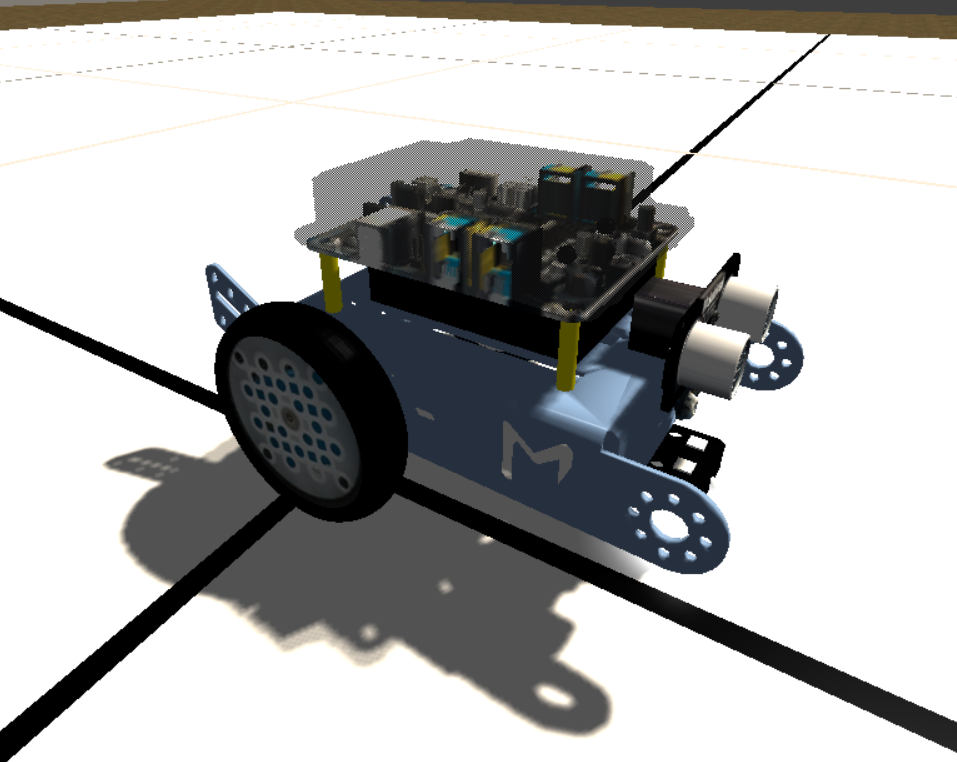
Hi, I added a GUI and some other needed things to the emulator, so here is the first distribution.
Users guide: (in Spanish :frowning: )

compressed folder with
https://www.dropbox.com/s/yoao21cieviitun/emulador%20mBot.zip?dl=0

mBot folder: the executable
vcredist_x86.exe if needed
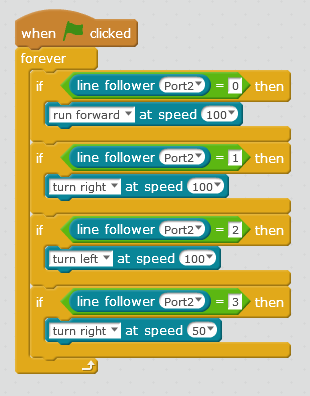
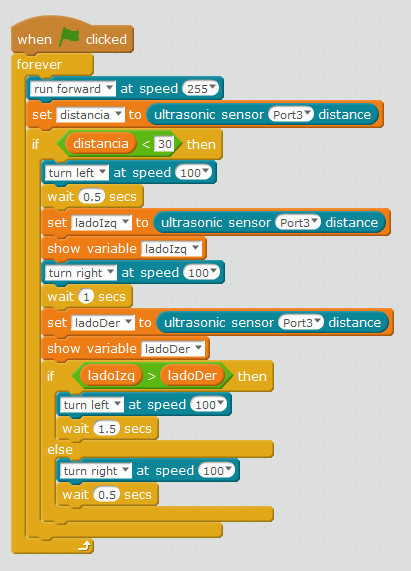
a couple of sb2 scripts: line follower and obstacle avoidance
vspe: virtual serial port emulator, optional, if you need it to link scratch with the simulator
(another way of linking the simulator with scratch is using a couple of FTDI modules wired one with each other)

as the documentation is in Spanish… English will come soon, but mine is very elemental :frowning:

Here is some basic explanation

In the mBot folder you will find a couple of sub-folders called “pisos” and “laberintos” : floors and mazes.
Any jpg image of 512x512 pixels can be added to the “pisos” folder and used as a mat on the 3D scene of the simulator, some examples are inside the folder for you to use. The mat will have 4m x 4m so one pixel is about 0.78 cm, i recommend the use of at least 4 pixels thick lines if you plan to build a track for the mBot to follow.

In the “laberitnos” folder, there are text files with a elemental draw of the walls of the mazes: 40x40 characters each non “space” character will build a cube of 10x10x10 centimeters so a 4m x 4m maze could be built.
About the first 3 lines of the text file they must contain 3 numbers, one on each
first line: x position in the range 1 … 40 column in the maze where mBot will start positioned
second line, y position in the range 1 … 40 line in the maze where mBot will start positioned
third starting forward angle of mBot, 0=North (?), heading away from us, 90 means going right, 180 approaching us, 270 going to the left. Any integer from 1 to 359 may be written.

If you do not link scratch with my simulator, you may select “continuar” in the first screen and use some keys to move the mBot manually and to move the camera which always look to the mBot.
Keys A/Z will increase/decrease Left motor speed by 25, Up/Down arrow does the same with the Right motor
Space will stop both motors
Left arrow will give 50 of speed to both motors and right arrow -50 (reverse) to both motors
With keypad keys you can control the camera position
5 move camera to default position 30 cm above and 40 cm behind
4,6 turn camera position clockwise/counter clockwise
8,2 rise/lower the camera
7,9 zoom in, out

to reach the first screen (3 options menu) you have to press ESCAPE key
if you select “Config” to select a floor and/or a maze, one, other or both and some other options like kind of power 6V, 3.7V, serial communication port, some optionally texts on screen like motors speed, line followers state, ultrasonic sensor reading…
On the “Escenarios” Tab, you will have a couple of list boxes with the files on the “pisos” and “laberintos” folders, the included ones and the ones you create :wink:

“pantalla” tab will let you choose screen resolution, I recommend some half width resolution so if you hide the “scene” on scratch you may have scratch and mBot simulator side by side.

enjoy

Juan


#6

Hi, here is a new realisitic mBot Simulator:


Do not hesitate to contact me for more informations.

#7

Stephane, that’s very nice, i found also another good work:

seems to be at least 3 on the same boat :slight_smile:

Mine is very simple but enough for my initial purposes.

It’s nice to see people working on this subject.

Juan


#8

Dear Juan, yes, you did a great job. Simulation is a nice add on to real robots. Specially for schools were having a lot of robots can make the teacher crazy :grin:


#9

You are right, we are planning a course and the idea is think the algorithm, write the pseudo-code, write the script, simulate and then real hardware. Simulation serves two main purposes, first debug steps (for trivial or not so trivial errors…) and second because there is not so much bots’s :frowning: you know, real hardware has some things like exhausted batteries just when you got the final version! which is the 21th one and, there really isn’t the last!

i also make a post in the Spanish forums:

And in the Game Engine forums on which I developed the simulator:

Off topic:
are you French? I do, sometimes read better French than English :slight_smile: do not know if Spanish is better than English for you (and I’m just mention “better” in the context of Reading from a non English native person :slight_smile:

kind regards

Juan


#10

time to update…

this is the new look

14

there are some new features: sensor relocation, for example, in the following video, the ultrasonic sensor is placed looking to the right and the line follower sensor is pointing to the front. The on boards led’s are used to signal in which situation the mBot is: at the correct distance to the wall (both leds green) far/near, no wall etc.

https://youtu.be/-sOQDLpiigQ

testing the on board lights…

https://youtu.be/u-1uKW4nJ4E

download link

https://drive.google.com/open?id=1rD2J0IMv8yju-4eIAve84Sp2Rz0XF9Bl

kind regards

Juan


#11

Hello, you can download and test our mBot simulator from this link:
http://www.irai.com/mbs


#12

Hi, thank you
downloading… :slight_smile:


#13

Hi! aside to mBot model is there any other makeblock model that can be simulated? for example servo pack add on models.