X-Y Plotter 2.0 - Laser is not switching ON


#1

I received my Plotter 2.0 recently and built it up, nice machine by the way!

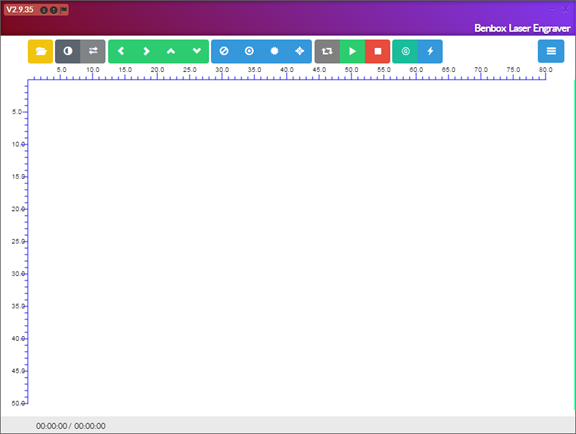
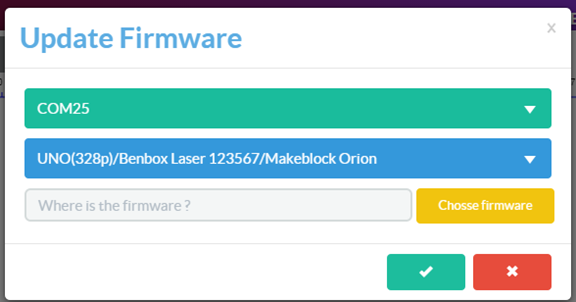
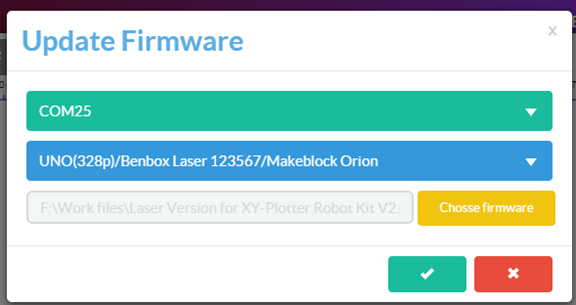
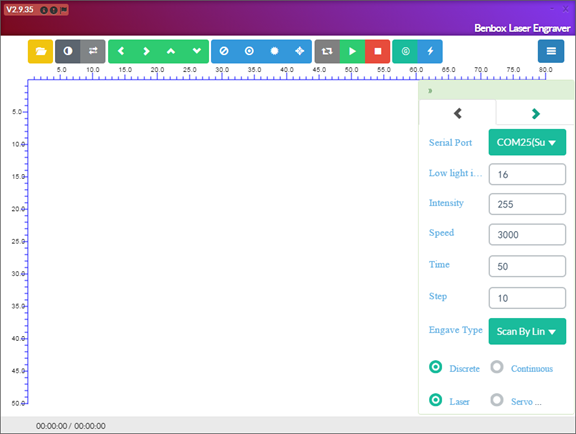
The only issue I am having is that the Benbox Software is not able to switch the laser ON. I am pretty sure that I installed everything like I should, the Benbox Software is able to control the x and y axis correctly and even starts a demo (but with laser switched OFF).

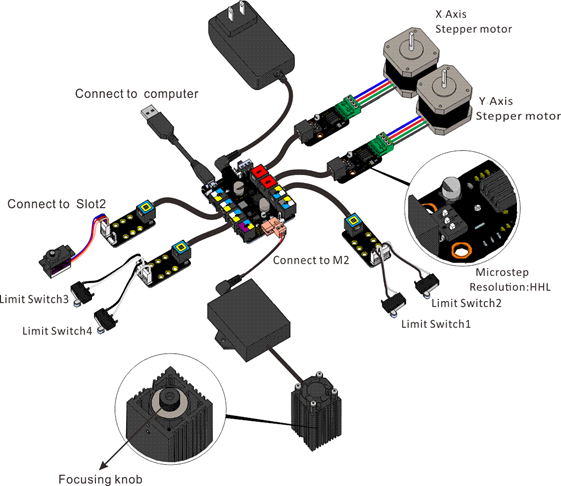
When I use an external power supply for the laser, it works fine, so the laser itself is not broken. I think it has something to do with the software that controls the M2 port, but I also ordered another Me Baseboard from a german distributor so I will check if it has something to do with the hardware.

I am not using the original power supply (because of the US-plug), so I replaced it by another 12V, 3A power supply, I don’t think its a problem, but just for the information.

In case anybody facing similar problems or has a solution I would be thankful if he could post them here… thanks!


#2

Hi @phoenix,

Did you upload the firmware to the Baseboard?


#3

Hi Johnny,

yes, I uploaded the firmware according to the manual:
http://learn.makeblock.cc/laserxy2/

Compare to the instruction my downloaded directory also contains an “ArduinoTool” and another directory “ROM” with a “Benbox_Laser_for_makeblock_leo_20140901.hex” file. I also tried to install that, but the software does not give any feedback (anyway, the “ArduinoTool” is not mentioned in the instruction). But I tried it several times, also a few times exactly as mentioned in the instruction.


#4

Please refer to the FAQ Question 1.
http://learn.makeblock.cc/laserxy2/
Question 1
Why you cann’t upload the program?
Answer 1:
Please use this program to update if you are unable to upload the program successfully. Please find Arduino Tool.exe file in the unzipped directory. Open it as an administrator, open the firmware, choose the file Benbox_Laser_for_makeblock_leo_20140901.hex(or Benbox_Laser_for_makeblock_uno_ 20140901.hex)under the directory \Laser Engraver Upgrade Pack for XY-Plotter Robot Kit V2.0\Laser Engraver Upgrade Pack for XY-Plotter Robot Kit V2.0 software\Laser Version software\Rom.
Select the port and model, please choose COM11 and Leonardo, click upgrade firmware.


#5

Hi Albert,

thank you very muxh for your feedback, it runs now!

I did that installation before, but it seems that the it is very important to to them in the right order:

  1. ArduinoTool.exe
  2. flush_firmware_for_makeblock_en.exe
  3. Benbox-Laser-Engraver-makeblock-2.4…

Best Regards,
John


#6

Hi!Everybody!.
Follow the steps below you can bring up G code input window.
1.

2.

3.

4.Add red box marked code in the TXT file

5.Save and open benbox software.
6.G code examples
G21
G90
G94
F3.00
G00 Z0.1000
M03
G04 P1
G00 X0.7541Y0.1791
G01 Z-0.0020
G01 X0.7014Y0.1816
G01 X0.6456Y0.1895
G01 X0.5908Y0.2029

(Note:M03 Open laser ,M05 Close laser)
7.enjoy!
By the way ,the new version of the software being tested, for a few pictures for everyone to see.


Best Regards!
Albert


#7

Benbox 2.9.35 Beta Simple Instructions

1 Install the control software Benbox 2.9.35 Beta
Install the control software Benbox as shown below, follow the prompts to install, to complete the installation.

2 Benbox interface

3 Upload firmware
According to the mainboard type of your XY Plotter V2.0,. select the right version of your board (Orion -> UNO or Baseboard-> Leonardo) and the correct COM port, and then upload firmware in it.
1).

2).

3).Select firmware.Orion→328P(Baseboard V 1.0/V1.1→32u4)

4).Update firmware. Click .Done!

4 Open the hidden interface, please click .

5 Attachment

Note: Please refer to previous version of the software manual to use the software.
Download here:http://learn.makeblock.cc/laserxy2/

https://www.youtube.com/watch?v=58UPnvPf9-0
https://www.youtube.com/watch?v=W0V-4O9x9Uk
https://www.youtube.com/watch?v=-yBMB5KtZj4


Makeblock Laser Engraver Gallery-How to engrave the papercut
Software?
#8